
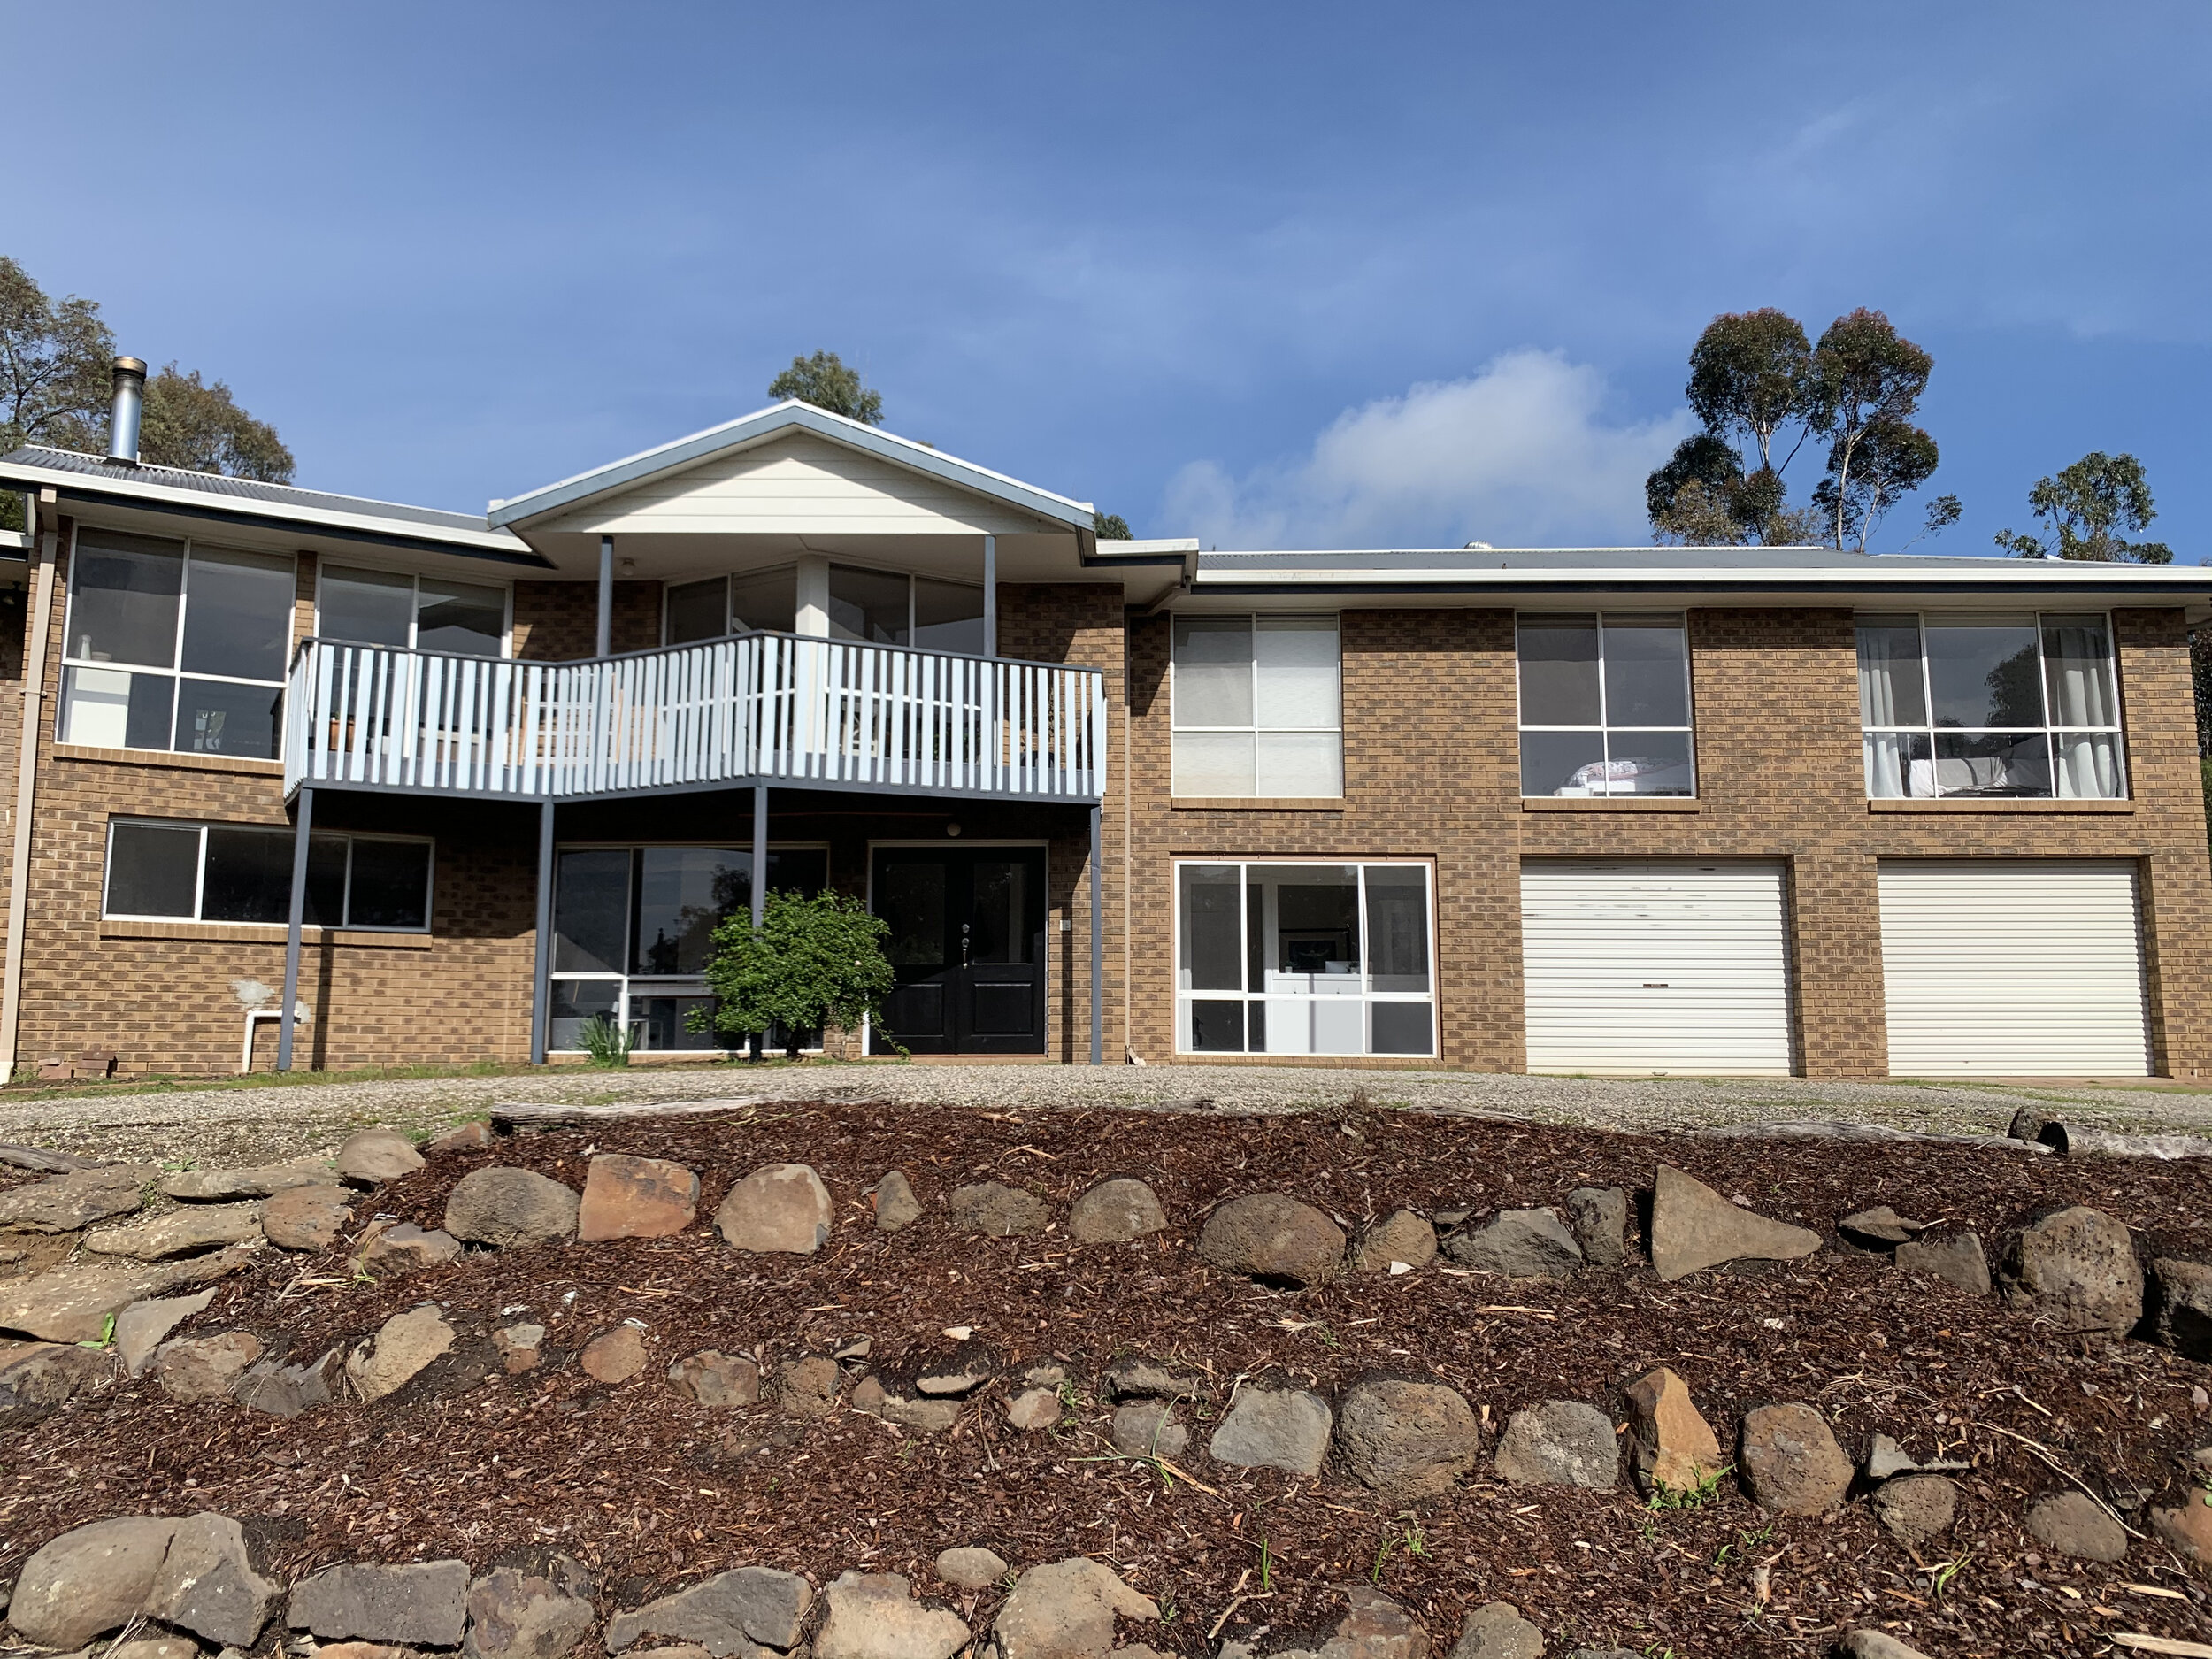
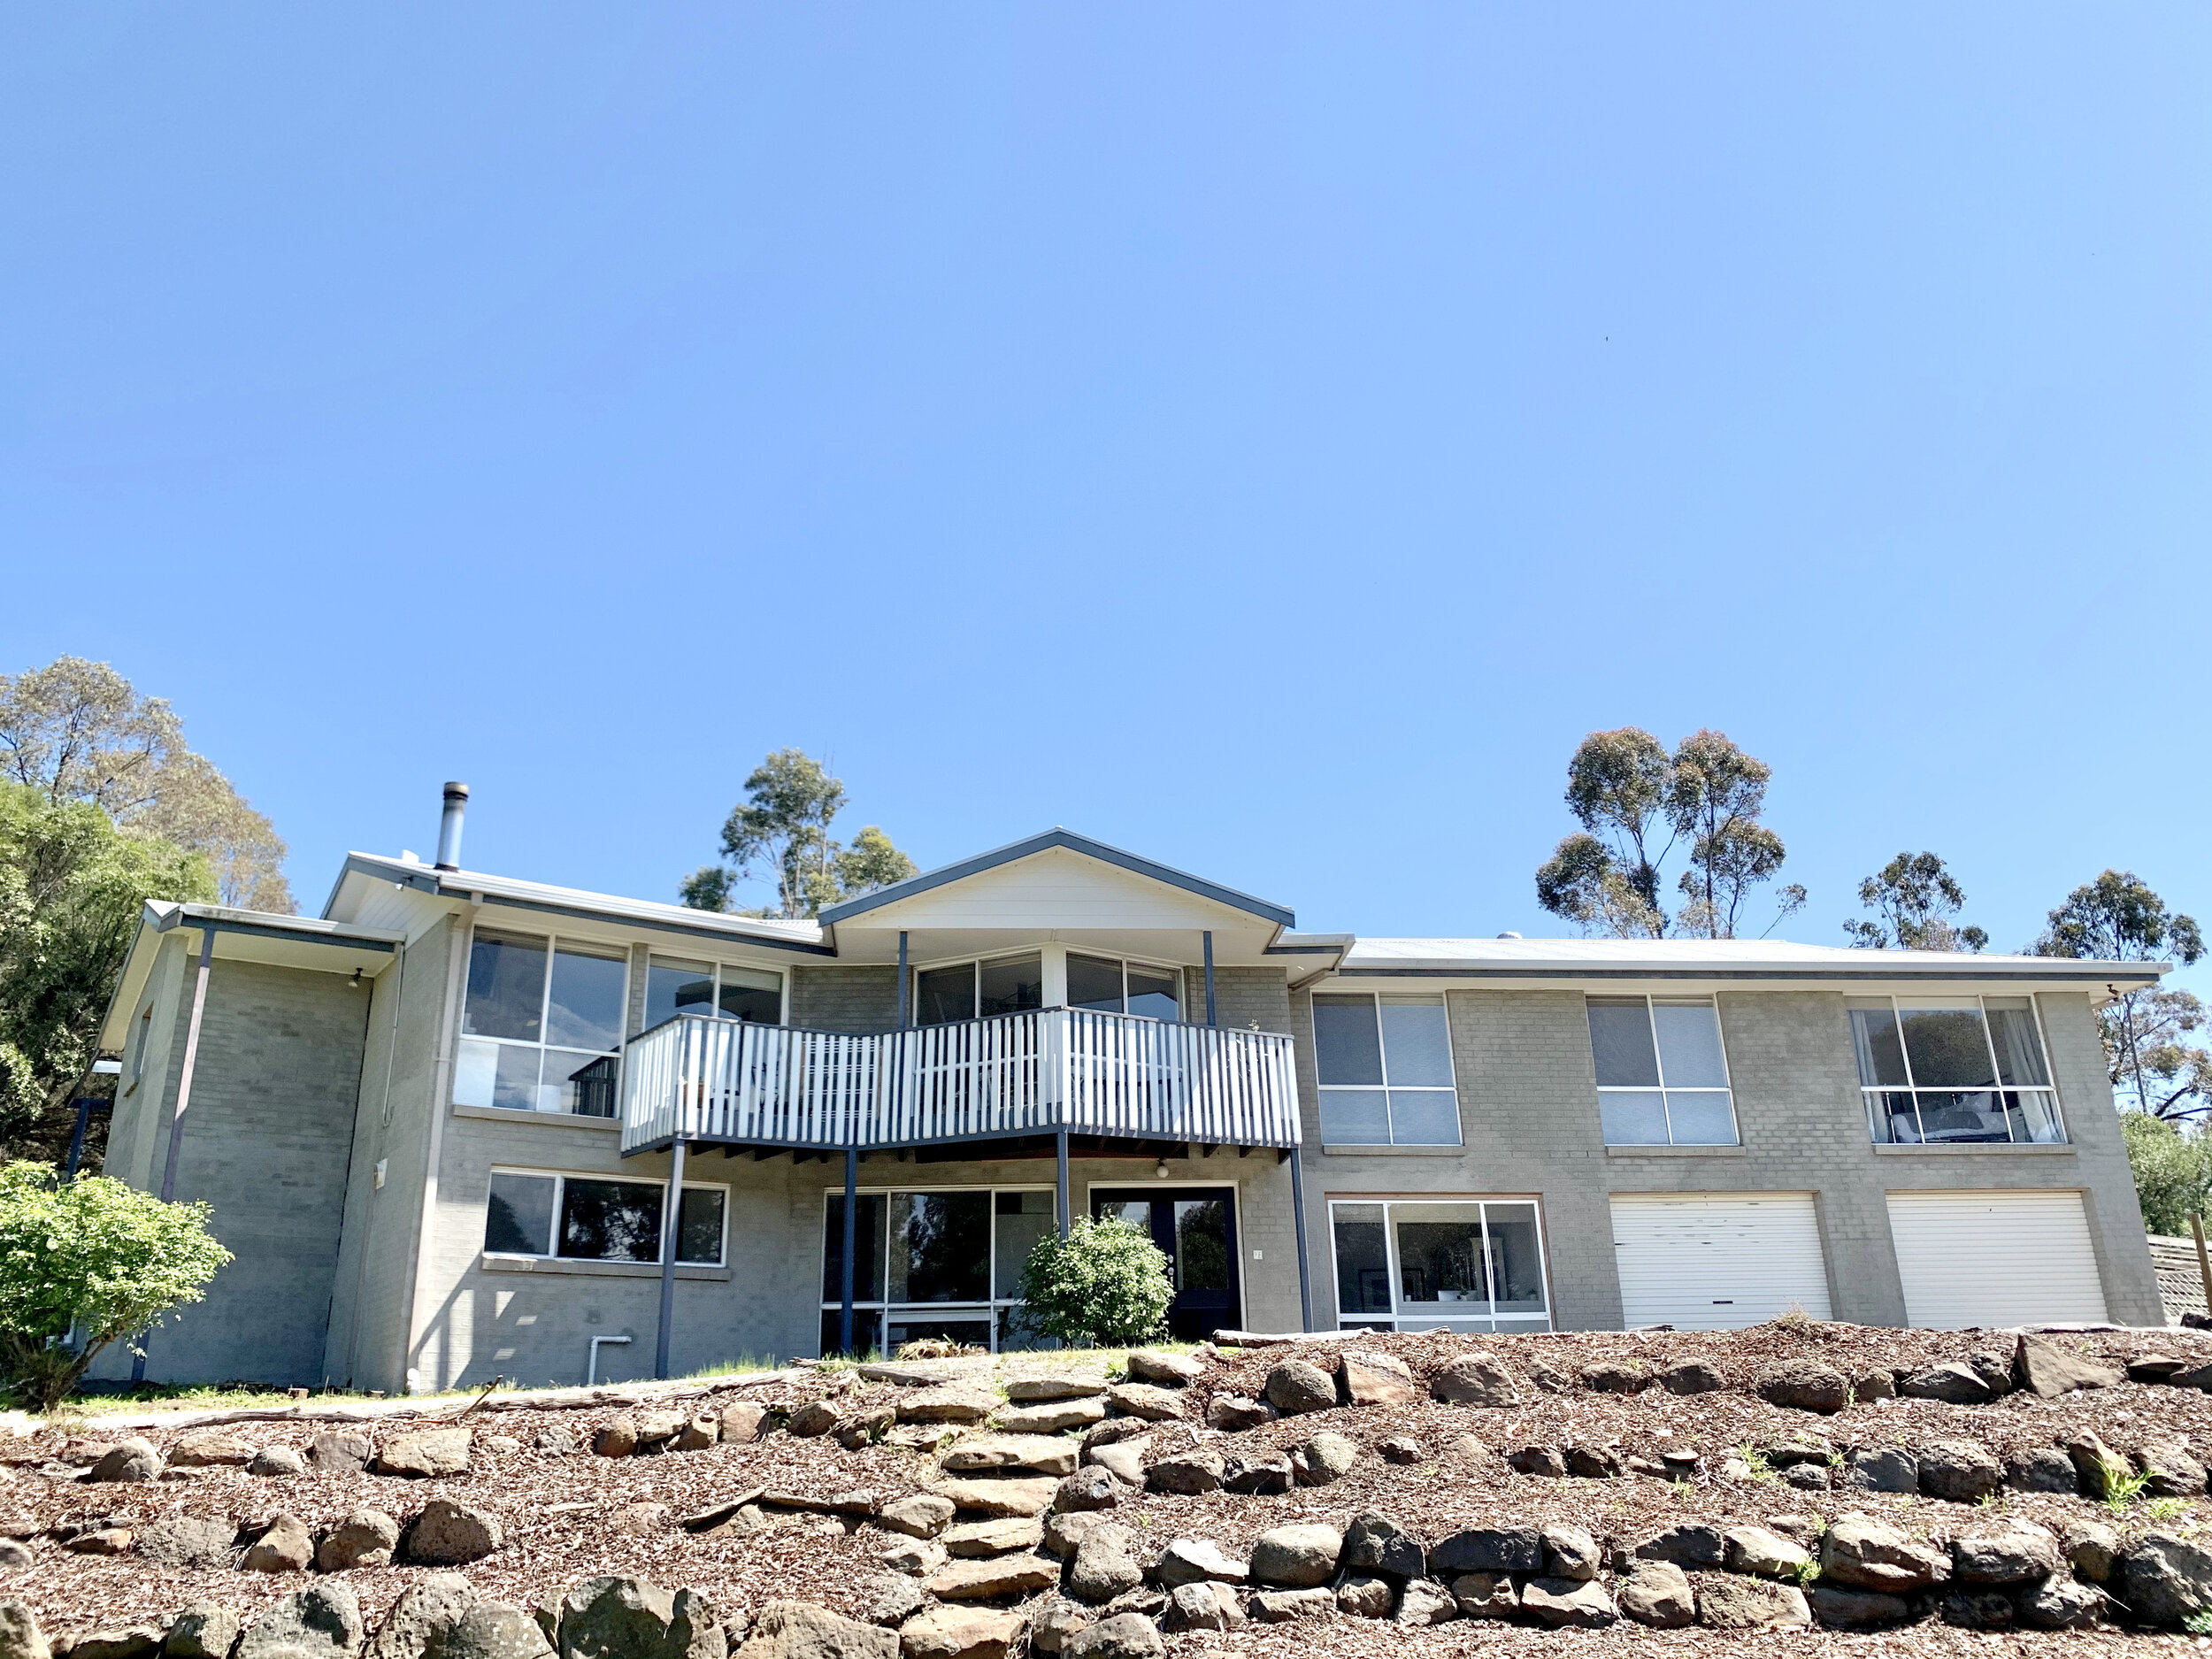
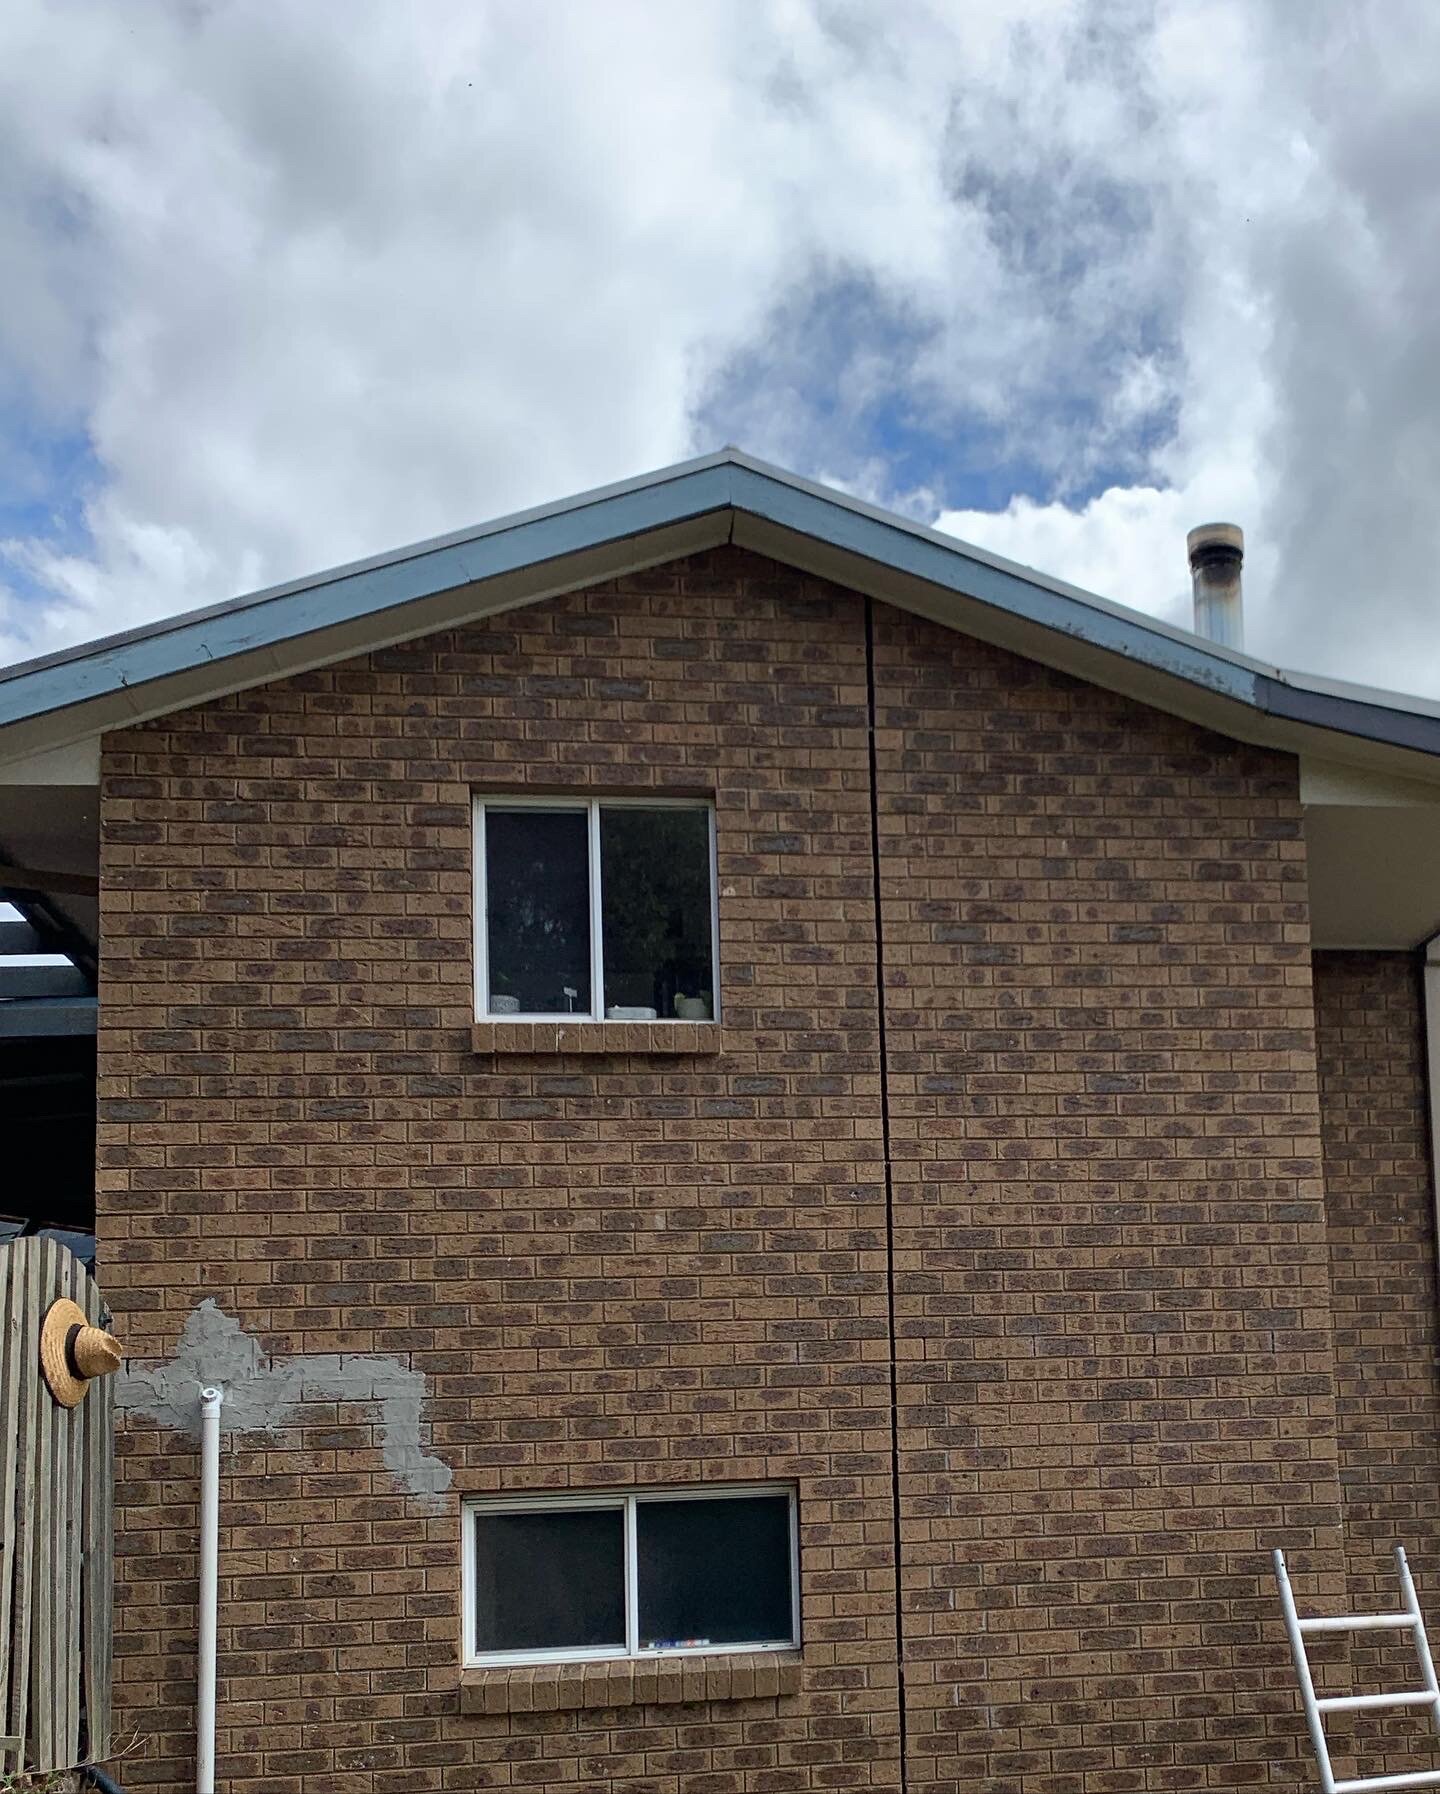
BRICK MAKEOVER PART 1: BAGGED BRICK
How we DIY bagged our brick home in Australia
A step by step guide to an affordable DIY brick renovation idea that completely transformed our ugly 90s brown brick home on a serious budget. We combined a few techniques and after some practice, a lot of elbow grease, disruption & mess it well worth it!
Includes cost + tips along with an update on how it’s holding up!
THINGS WE USED
Mortar Mix (see bag quantity calculation at the bottom of this post)
1 notched trowel (it doesn’t have to be this one, just one for thicker products)
2 large buckets/pails (doesn’t have to be this kind, 20L is a good size)
2-3 large sponges (it’s good to be able to use one while the other person washes the other 1-2)
Power drill
Mixing bit (it doesn’t have to be this one, just choose one capable of mixing thicker materials)
Clean water
Scaffolding (if your home is not single story) or a stable ladder if it is.
PROJECT GALLERY
A few things to consider…
HOW MUCH DID THE MORTAR MIX COST?
We used approximately 30 bags of mortar mix in total (our house is giant, most wouldn’t need that much) we already had trowels/buckets/sponges, and borrowed the scaffolding from a friend to do the second story safely.
So 30 bags mortar mix X $8.90 per bag
= $267 total mortar cost to bag the external brick walls
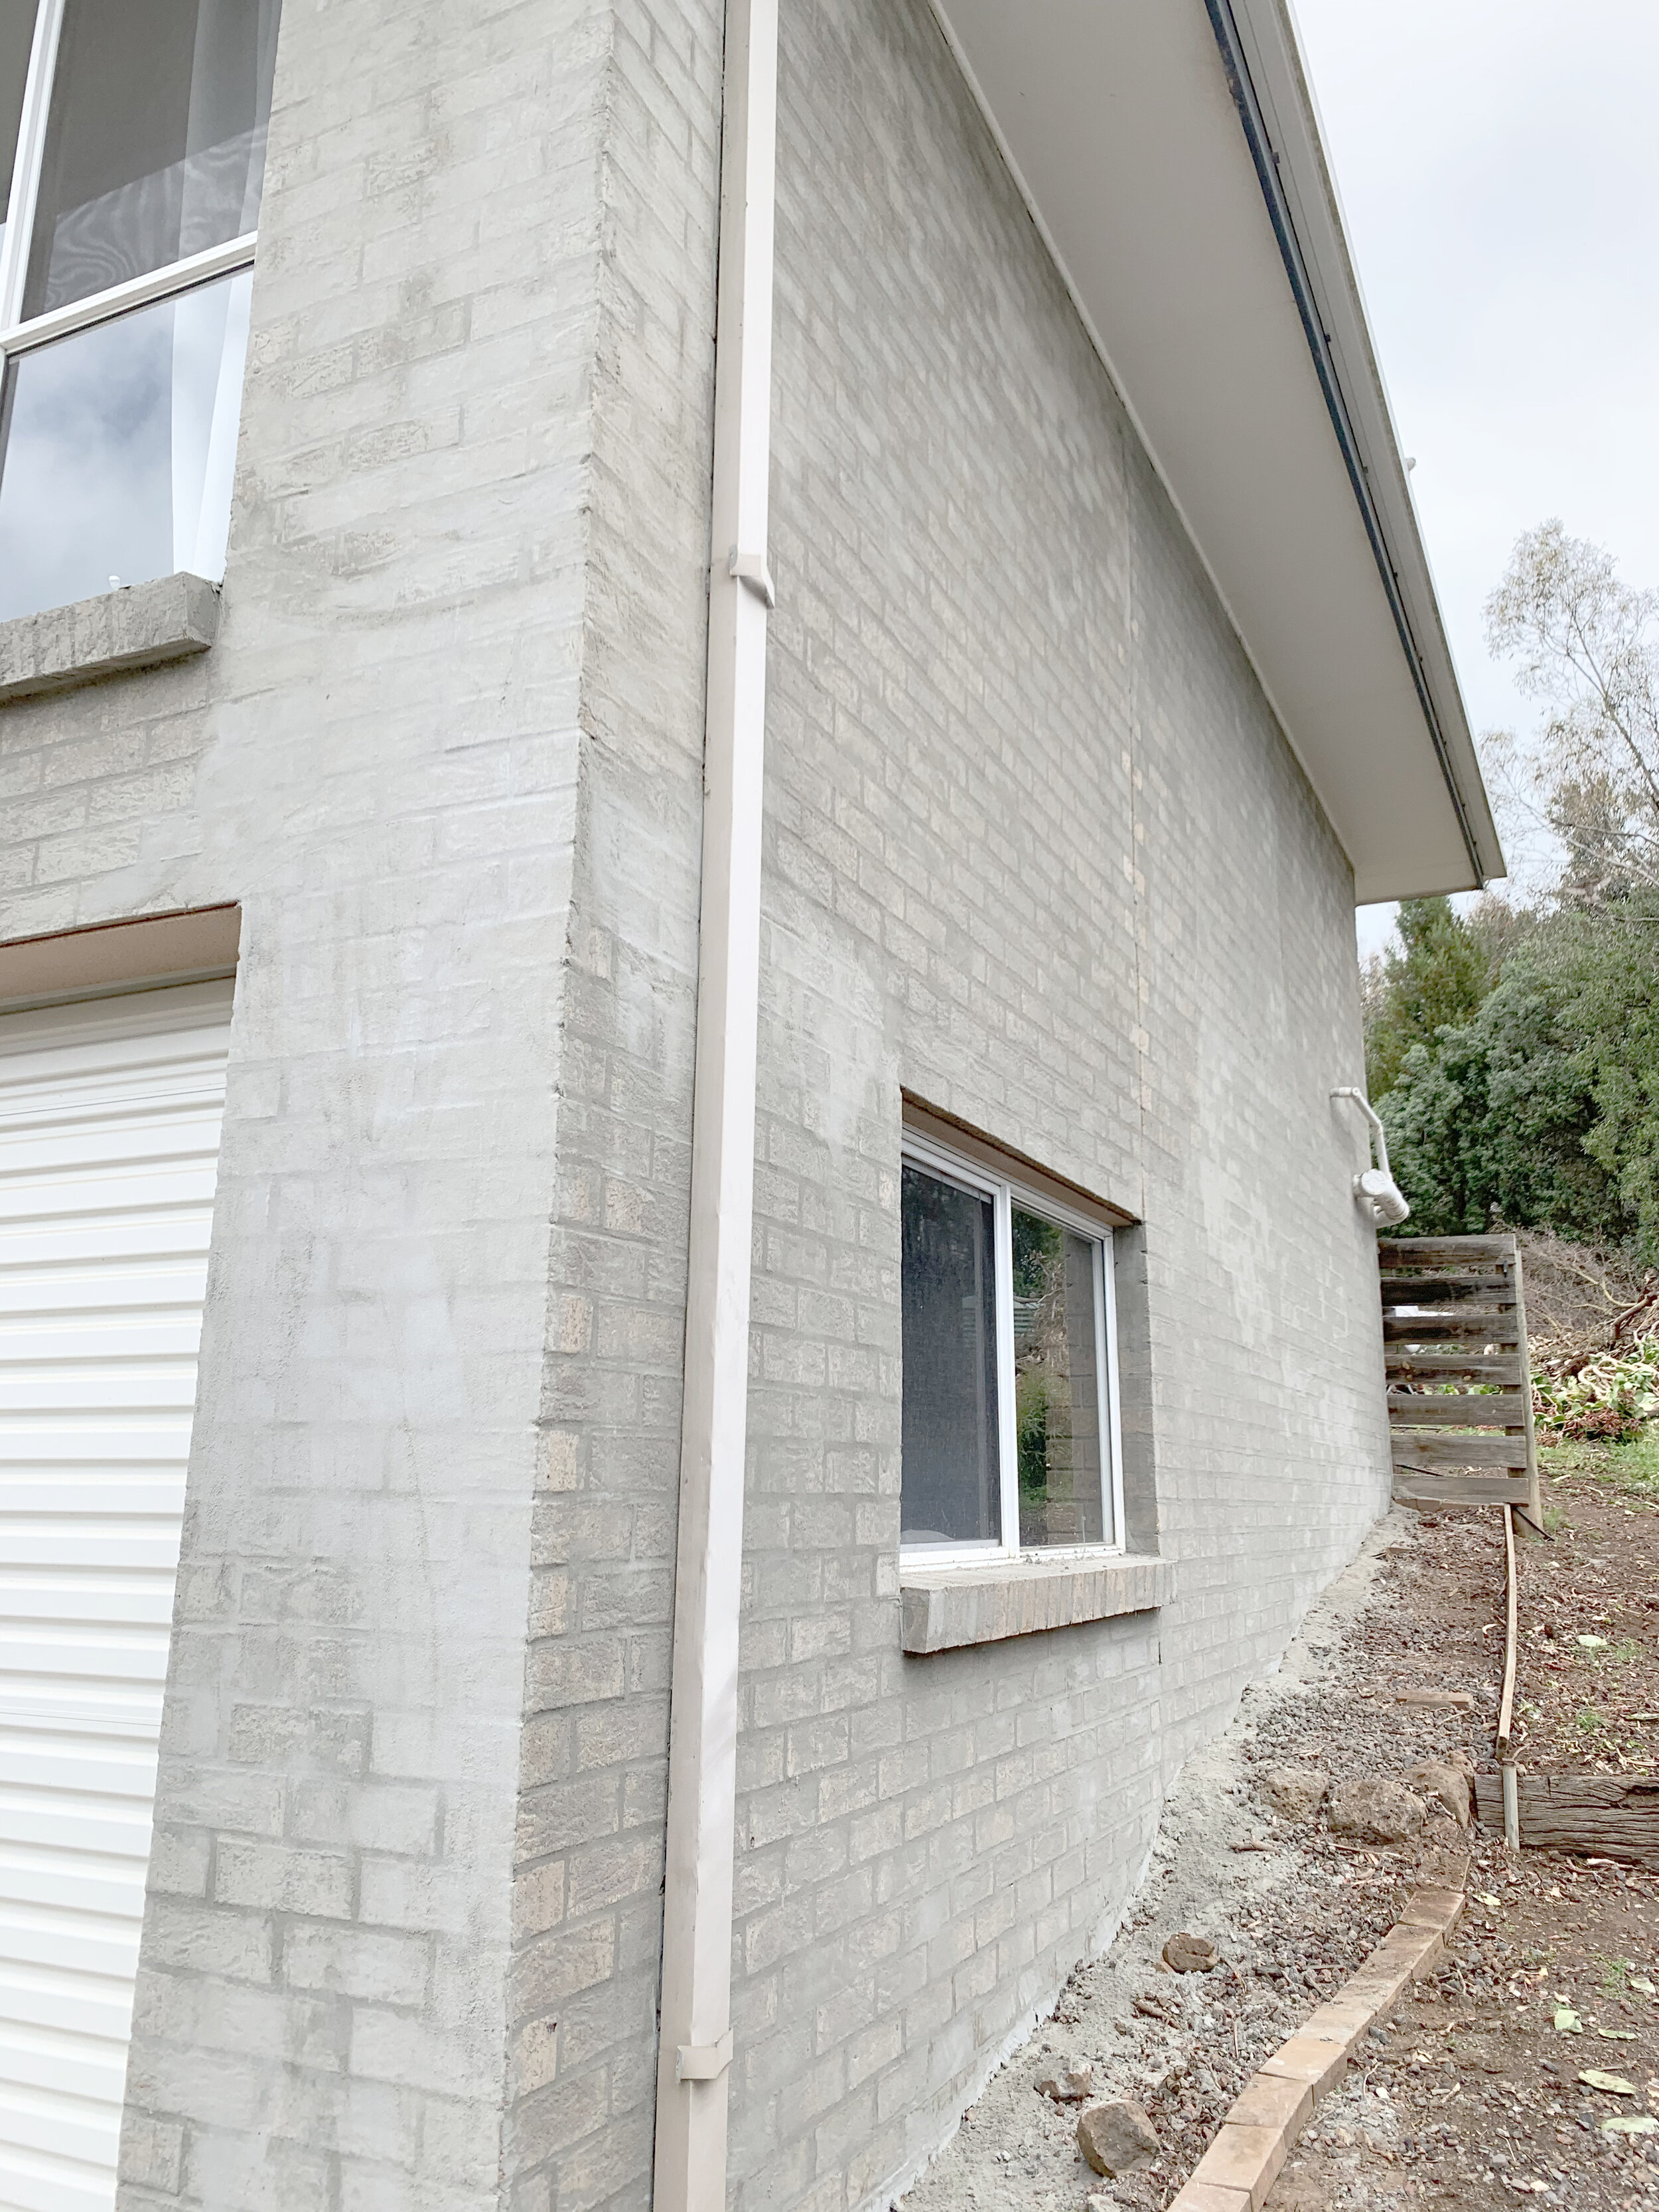
To help you calculate a ballpark quantity for your home, the 4.3 x 4.5m end wall of our house is 19.35m2, minus the two small windows was 17.35m2 and took 5.5 bags. So for us, each bag did approximately 3.15m2 of wall area, if you have quite large mortar joints like we did, potentially less if you do not, more if you prefer to hide the lines entirely. Also be aware some parts are more fiddly or hard to access than others and may waste more product.
KNOW-HOW
•
KNOW-HOW •
METHOD
STEP 1
We pressure washed the brick and let it dry a little (it just needs to not be dripping wet).
STEP 2
Next we added the mortar mix to a large clean bucket and mixed in water to create a paste like consistency as per the packet instructions (you can see an example of this in the video at the bottom of this post). We used this special drill bit, along with our Makita power drill. We used what we had, it’s important to ensure you use a drill and bit that is powerful enough to handle mixing this course/heavy mix without straining either one.
STEP 3
This can get messy so if you want to avoid cleanup it’s a good idea to drop sheet with a waterproof tarp or similar, we had landscaping and painting yet to do so we didn’t bother.
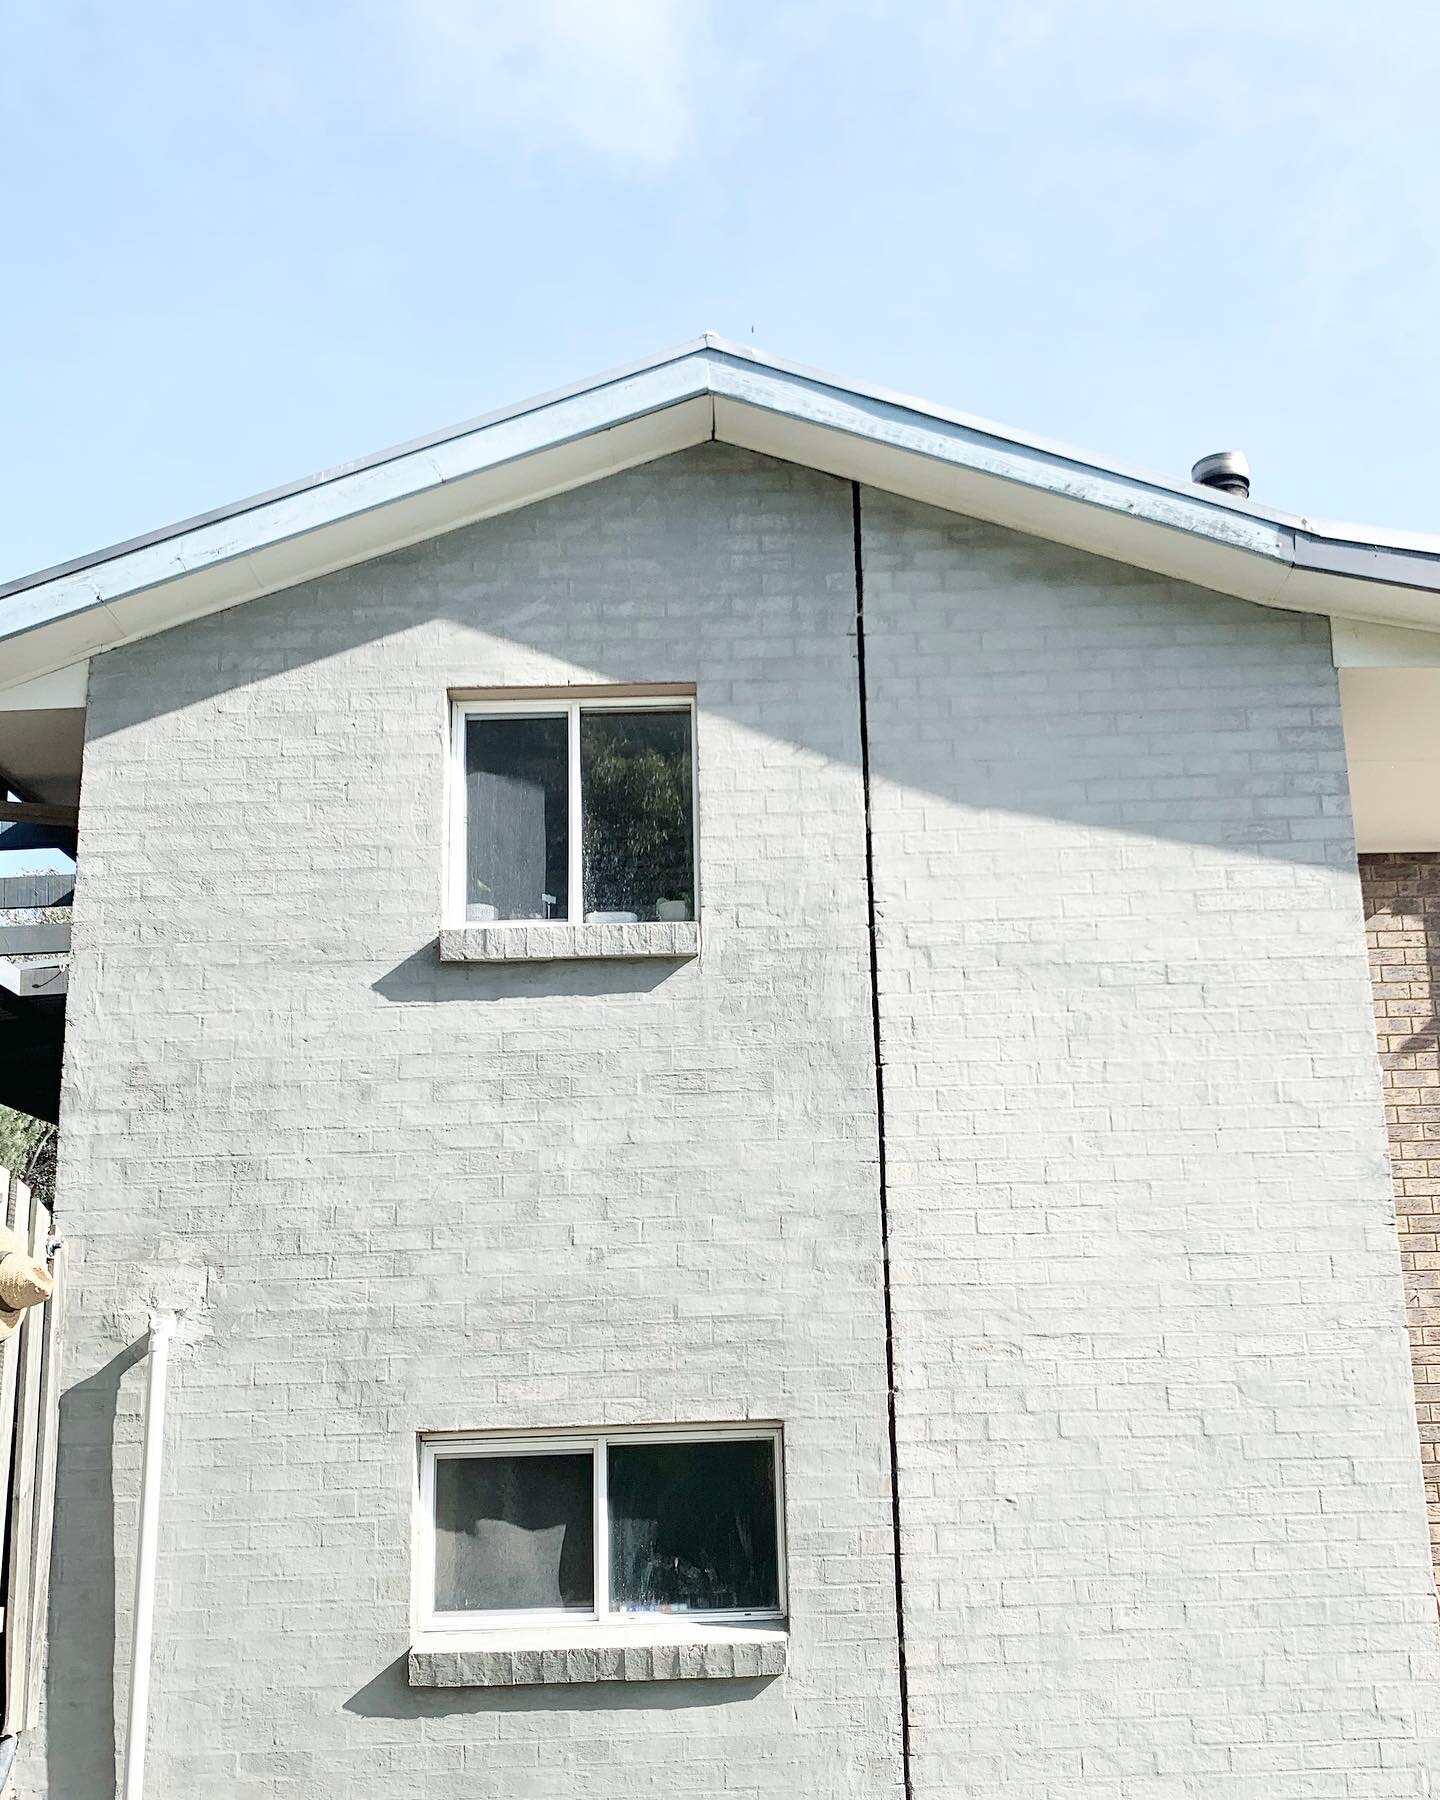
We applied the mixture to the brick using a trowel, starting at the bottom and working our way up the wall, scraping in various directions after the initial swipe to ensure the mixture was worked properly into the mortar gaps.
If the mixture drips down the wall don’t stress, it’s just too runny, when this happened we added some more mortar mix, used the drill to mix it up again, then kept going.
STEP 4
We worked in sections approximately 2-3m wide at a time, and as tall as a single story of the house. We used a sponge with a bucket of clean water to wipe back the wall while it was still wet, in circular motions, until the desired thickness and smoothness was achieved.
The sponge must be damp but not dripping wet, and we had to rinse it regularly. It helps to have one person on washing the sponge and getting fresh water duty, and the other wiping down the wall.
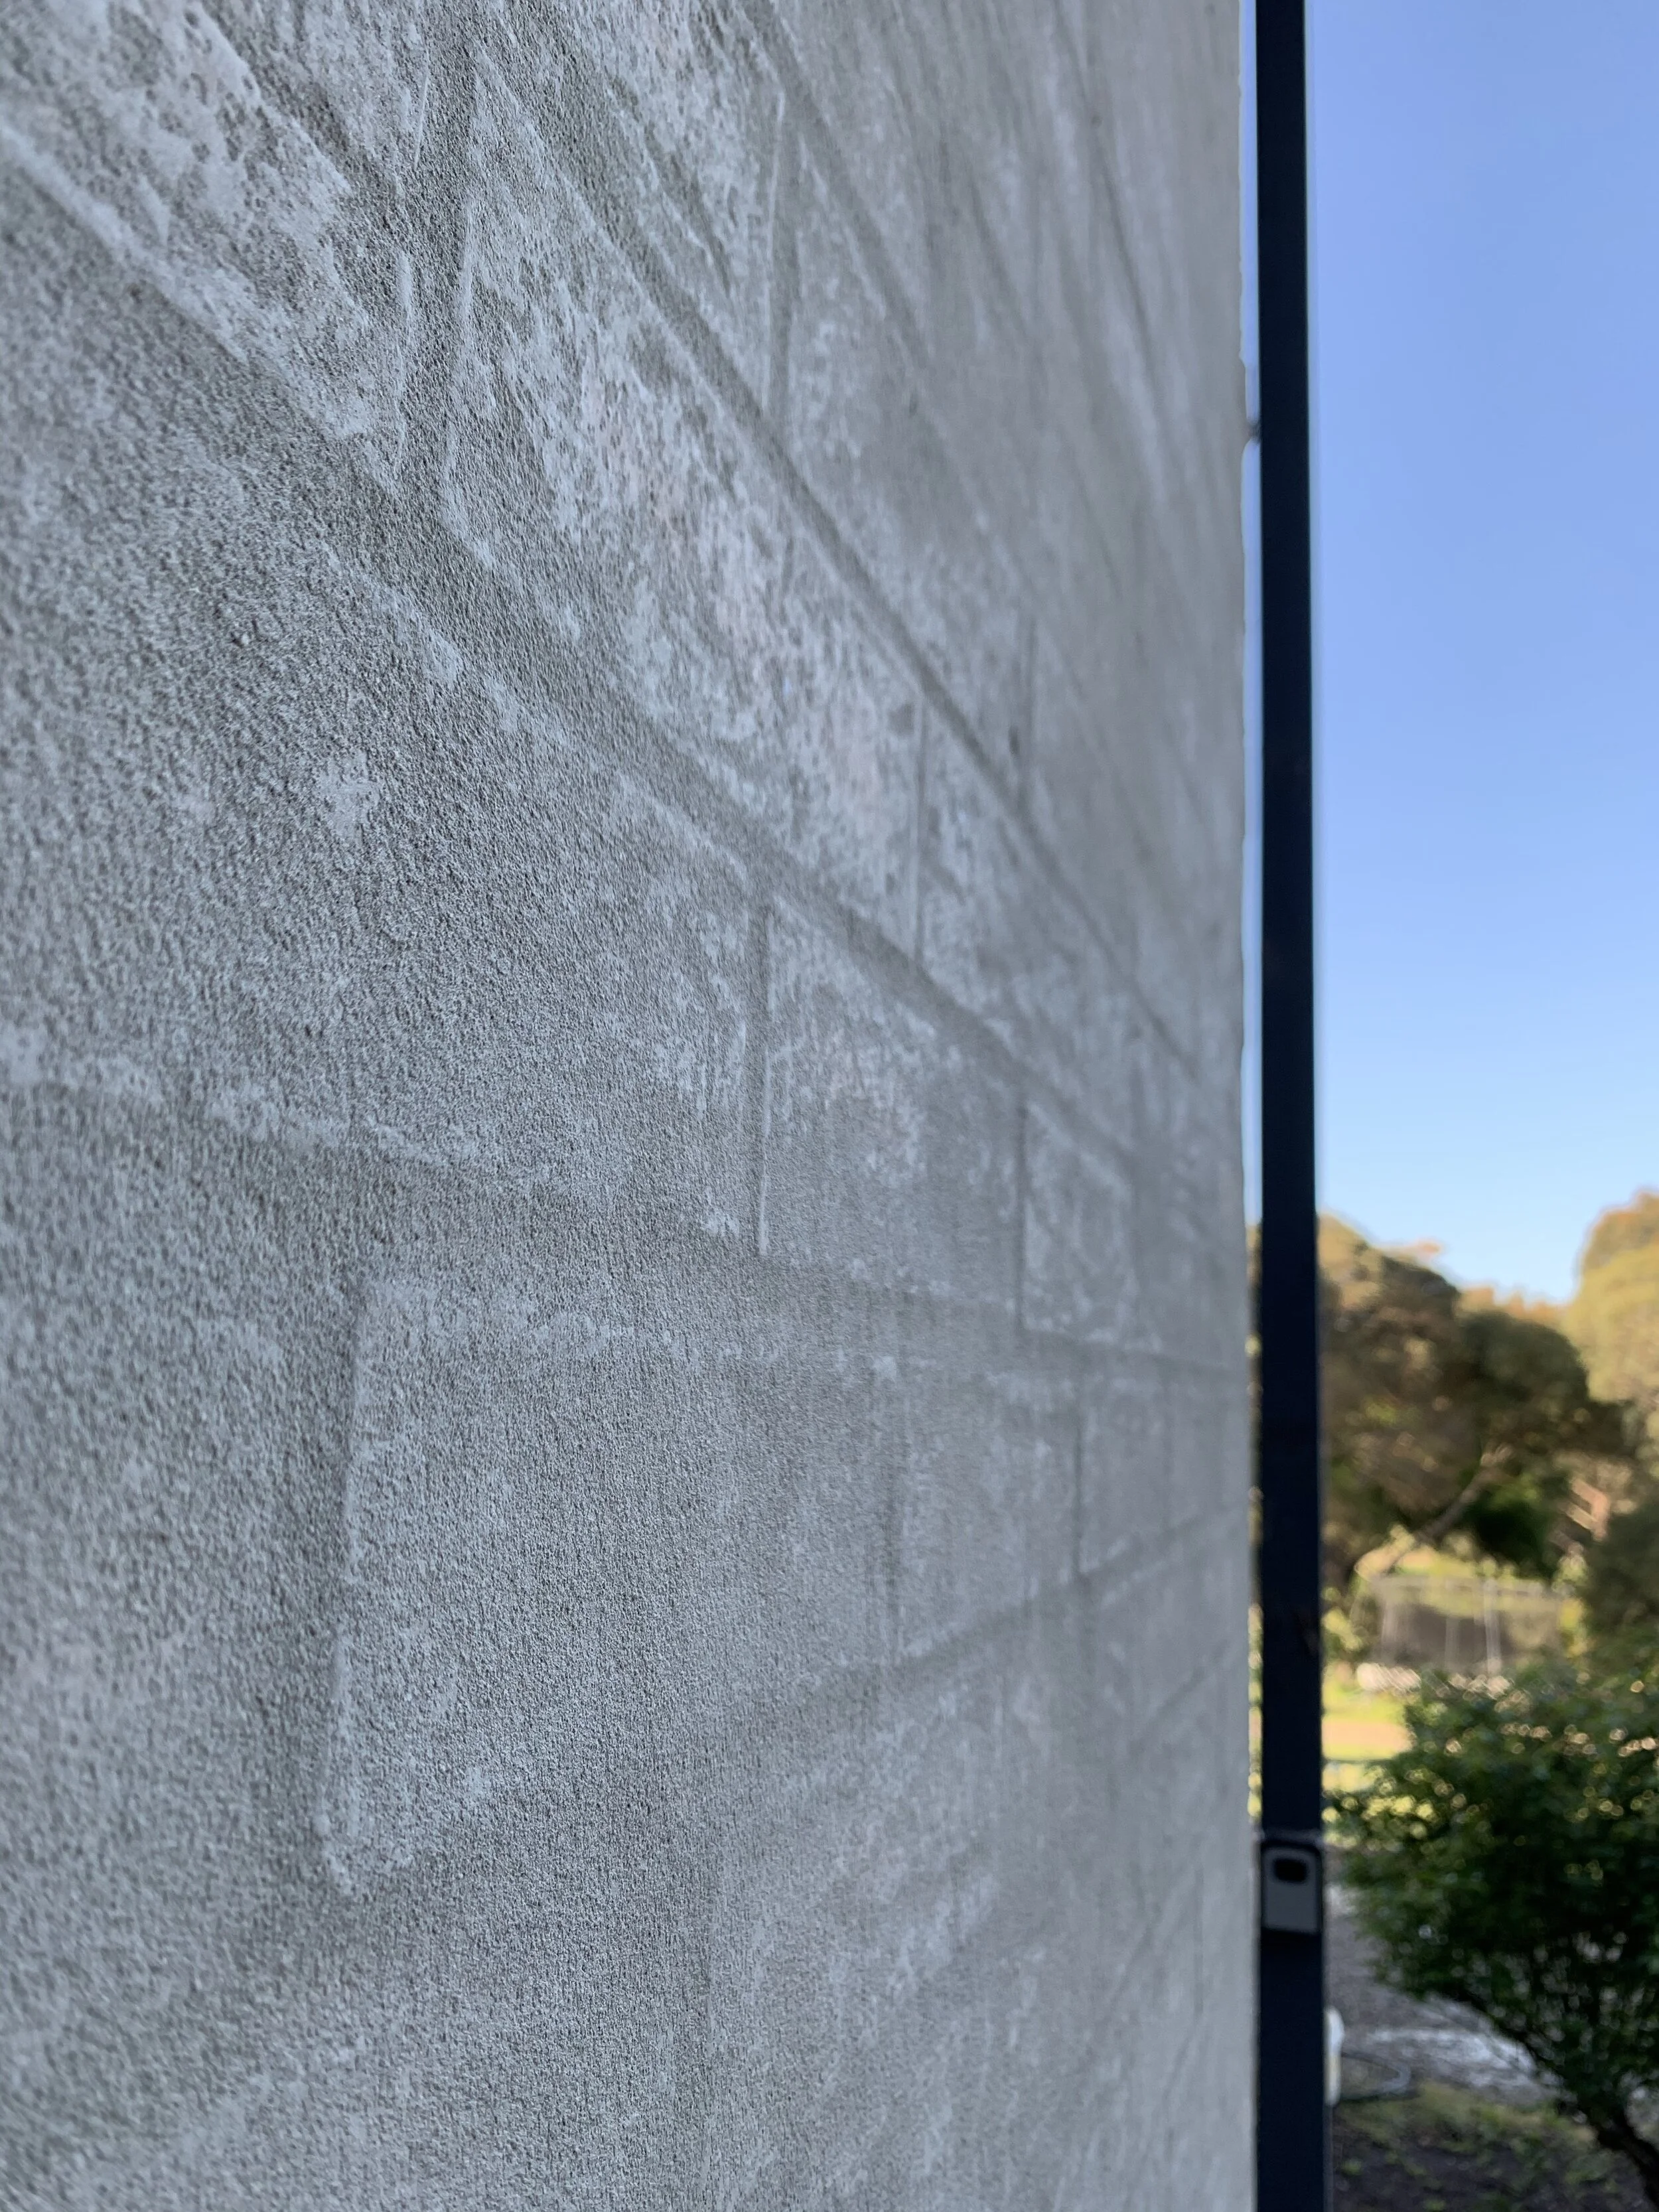
STEP 5
It dries fairly fast, and will dry on the brick surface faster than the mortar gaps (as they contain more mix) so don’t stress if it looks strange for a day or two. Once ours was completely dry we came back and used a stiff broom to brush off the fine loose particles.


STEP 6
Now it’s ready for painting with a primer and paint that is approved for use on brick/masonry (brick primer and paint needs to breathe, you do NOT want to seal your wall, this is vital). Keep an eye out for our next blog post when we paint ours!
*This was our process after watching a million YouTube videos, and reading the instructions on the mortar mix packet. Do your own research to determine if this process will work for your needs and home.
THIS POST IS PART 1 OF OUR BRICK TRANSFORMATION, SEE PART 2 HERE