BUDGET BED HEAD - How I made a farmhouse bed head on the cheap

“How I built a black custom king size bed head myself, for a fraction of the cost, one of my favourite features of our monochrome modern farmhouse style home.”
Materials
1 x 2400 x 1200 x 12-16mm sheet of plywood $61
I used this Structural Ply, but should have sanded it better before painting, Marine Ply and Baltic Birch Ply (best) are higher quality and smoother finish. I would use Baltic Birch if I did this again (available from local timber suppliers).
2 x primed pine 2700 x 67 x 11mm $9.60 ea
2 x primed pine 2700 x 30 x 11mm $5.30 ea
1 x box of 20mm Brad Nails $4.98 ea
I used PowerFit 20mm C1 Series Brad Nails because they go with our Nigel Nailer
1 x pack of 8g x 30mm Zinc Plated Self Tap Pan Head Sheet Metal Screws $8.65 (if screwing into metal frame like we did, otherwise normal wood screws are fine).
1 x quality wood glue $12.90ea
I used what we had on hand which was Gorilla Glue, it’s good, I use it a lot
1 x 1L black paint, preferably gloss $59.80
I used Dulux Aquanamel in Gloss Black as I had it on hand and knew it was recommended for doors and items which take hard knock, and gloss wipes down better with dust.
1 x Brush and/or small roller and paint tray $0-50 depending what you buy/have already.
My all time favourite roller is this Monarch one, because it snaps into a totally air tight tube when you’re done, which keeps paint fresh for weeks (I’ve done months, although I think technically they only guarantee days). It also comes in 100mm size for small projects.
I use the 160mm for almost everything, with a small tray as I find the smaller ones easy to hold in one hand while painting (they’re lighter). I even use this when doing feature walls and doors. I use these roller refills (they used to come in 12mm nap, if they ever do again, get that) and this pole which is the most genius thing ever, so easy to snap off and on, but still has the “old school” screw part for your other rollers.
HOT TIP: If you put a plastic bag (even the degradable ones) over your roller tray, then pour in the paint, you never have to wash it. When you are done but needing to re-coat, put another bag over it, and tie it off then put it in the fridge until your next coat (max 1 day) to avoid even more work!
A few lengths of 180-220 grit sandpaper $2.70
Something like this or you can also buy sanding blocks which are great for small projects.
Wood Filler $10.49
I used this which we had on hand, but there are plenty of other brands that offer smaller sizes.
Cost
$170-$240 if you need to buy every item, depending on what you choose, it cost us $99.45 as we had quite a lot on hand.
Tools (all optional, you can do it with hand tools too)
Nigel Nailer (Brad Nailer)
Ours is a Ryobi One+ 18V Cordless Brad Nail Gun this is not 100% vital, you could absolutely hand nail it with fine nails if you do not have this tool.
Circular Saw
I used our very old corded Makita one but have since replaced with with a Ryobi One+ 18V Brushless Circular Saw for $259 which we love (currently disappeared from Bunnings website). Again you could use a hand saw.
Drop Saw
I used what we had, this isn’t mandatory either, you can use a tool called a Mitre Box and a good old hand saw to do this without the big tools
Bed
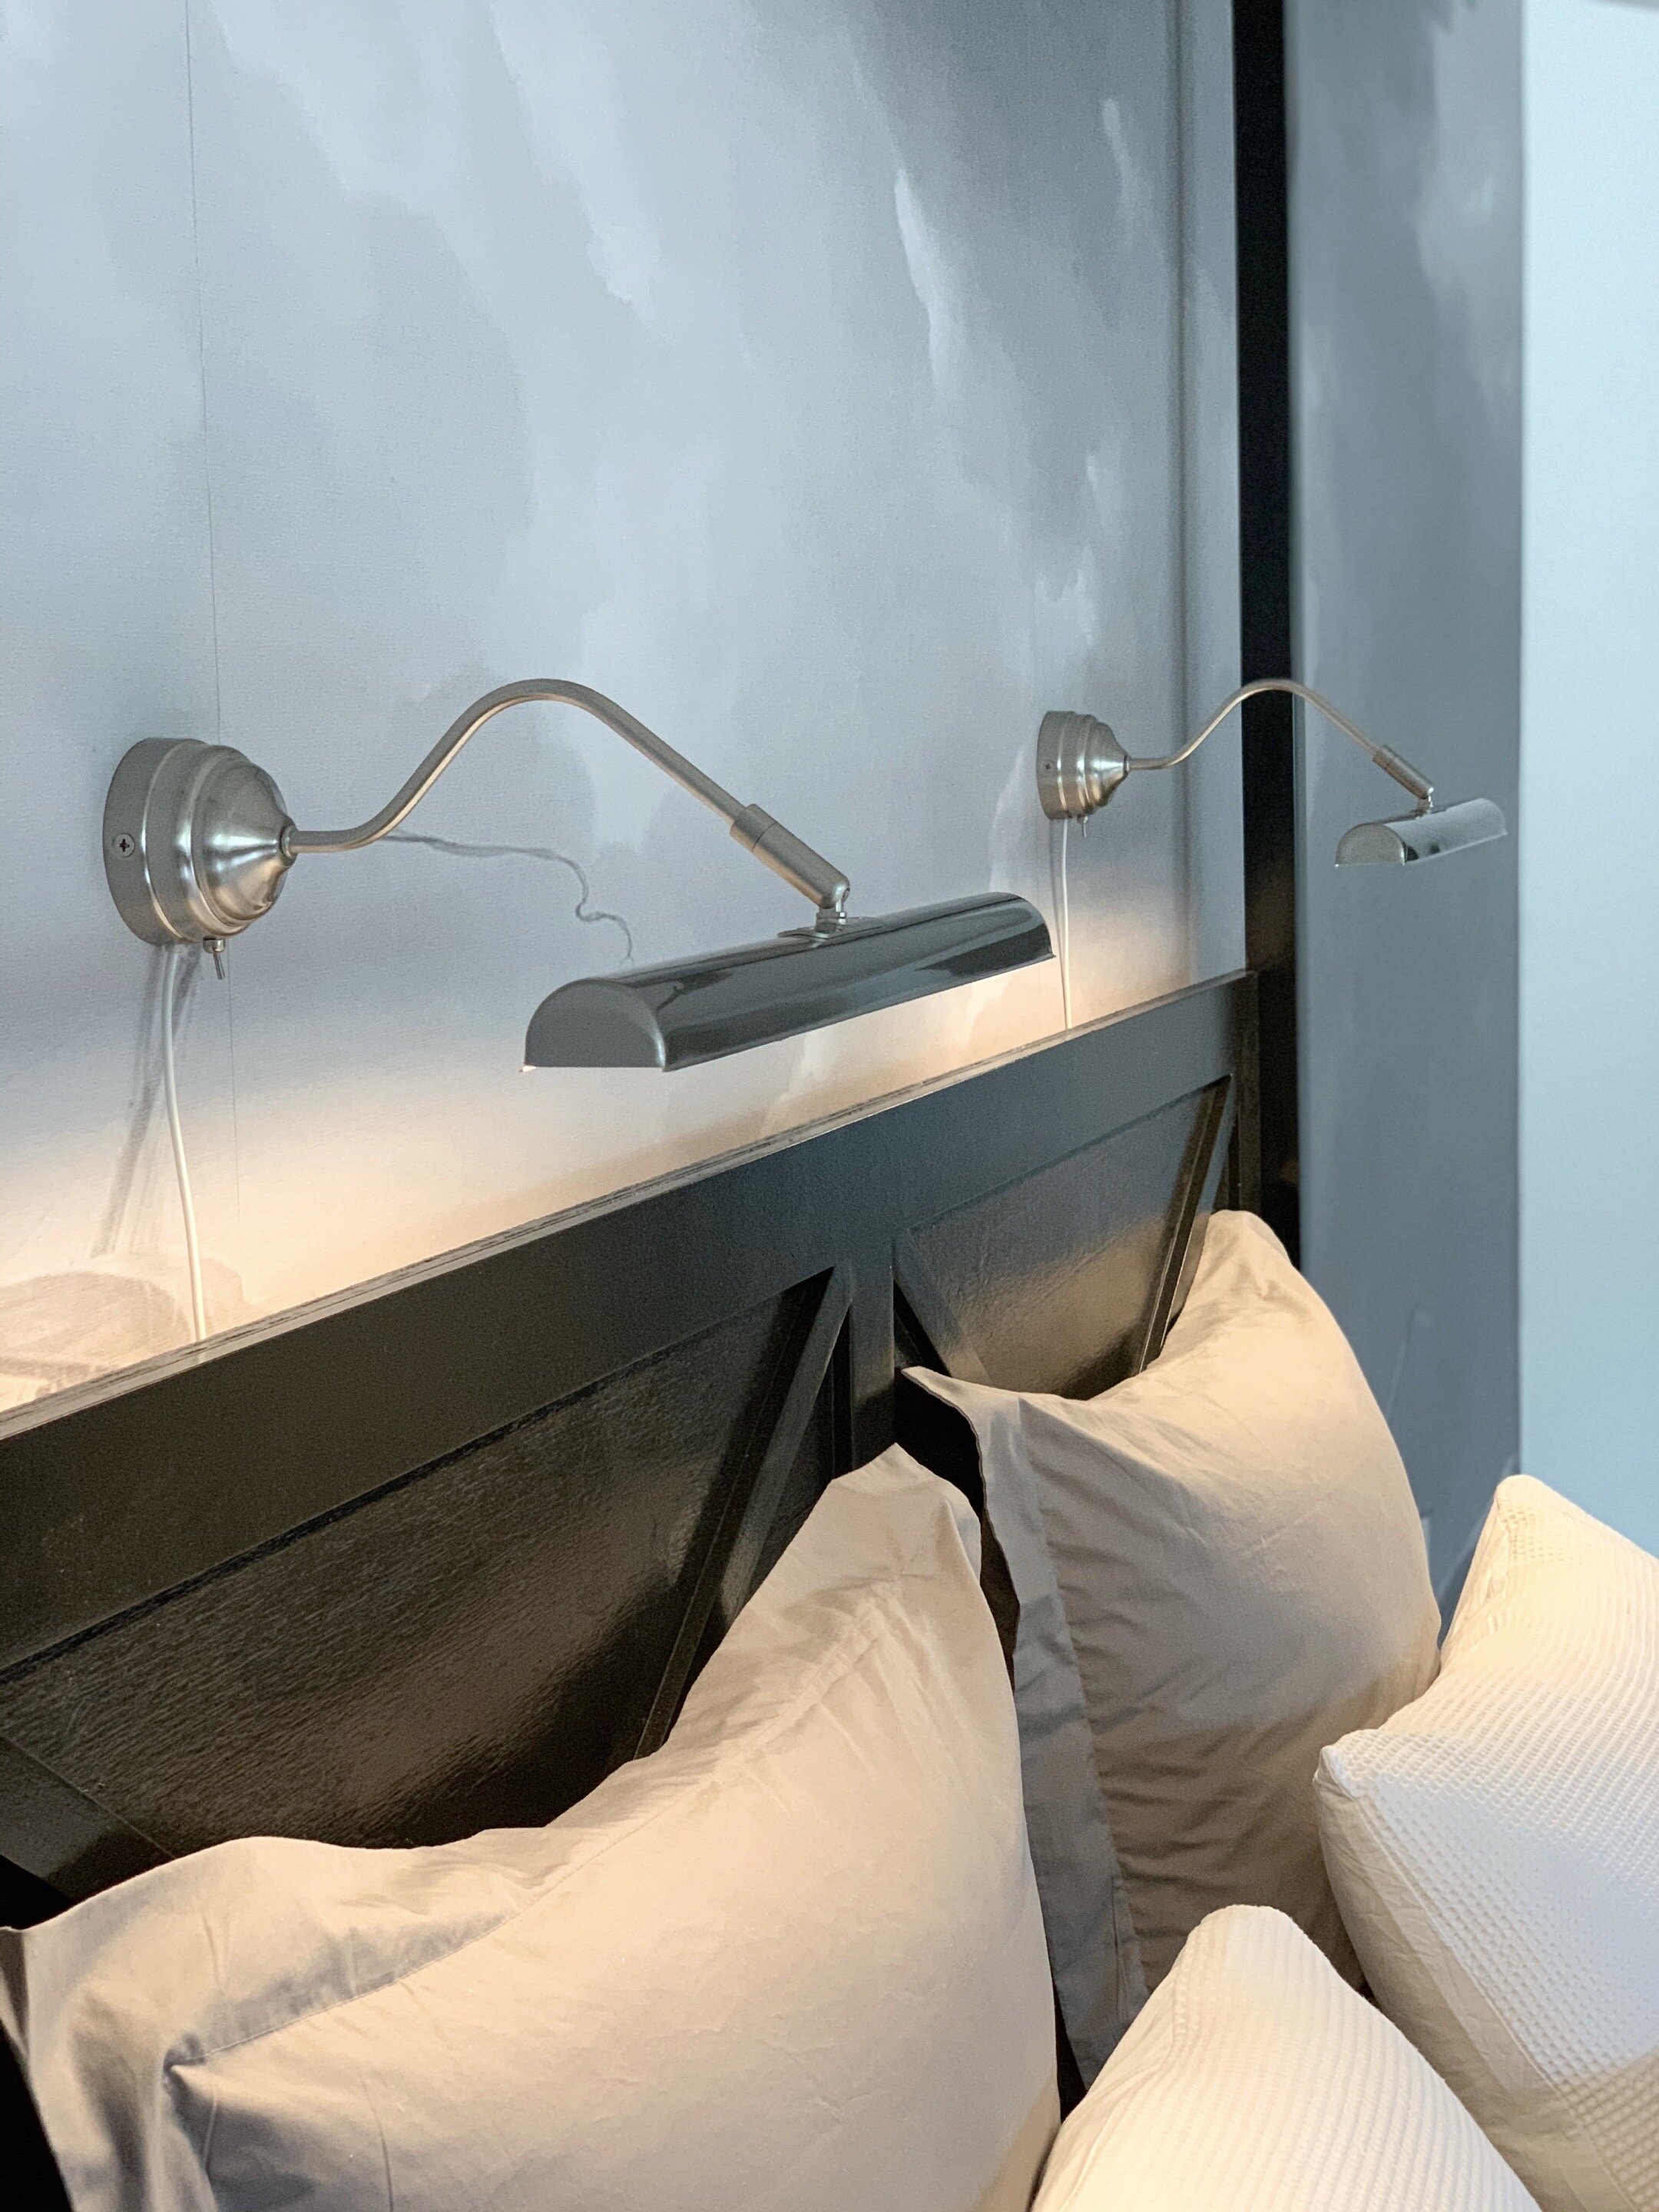
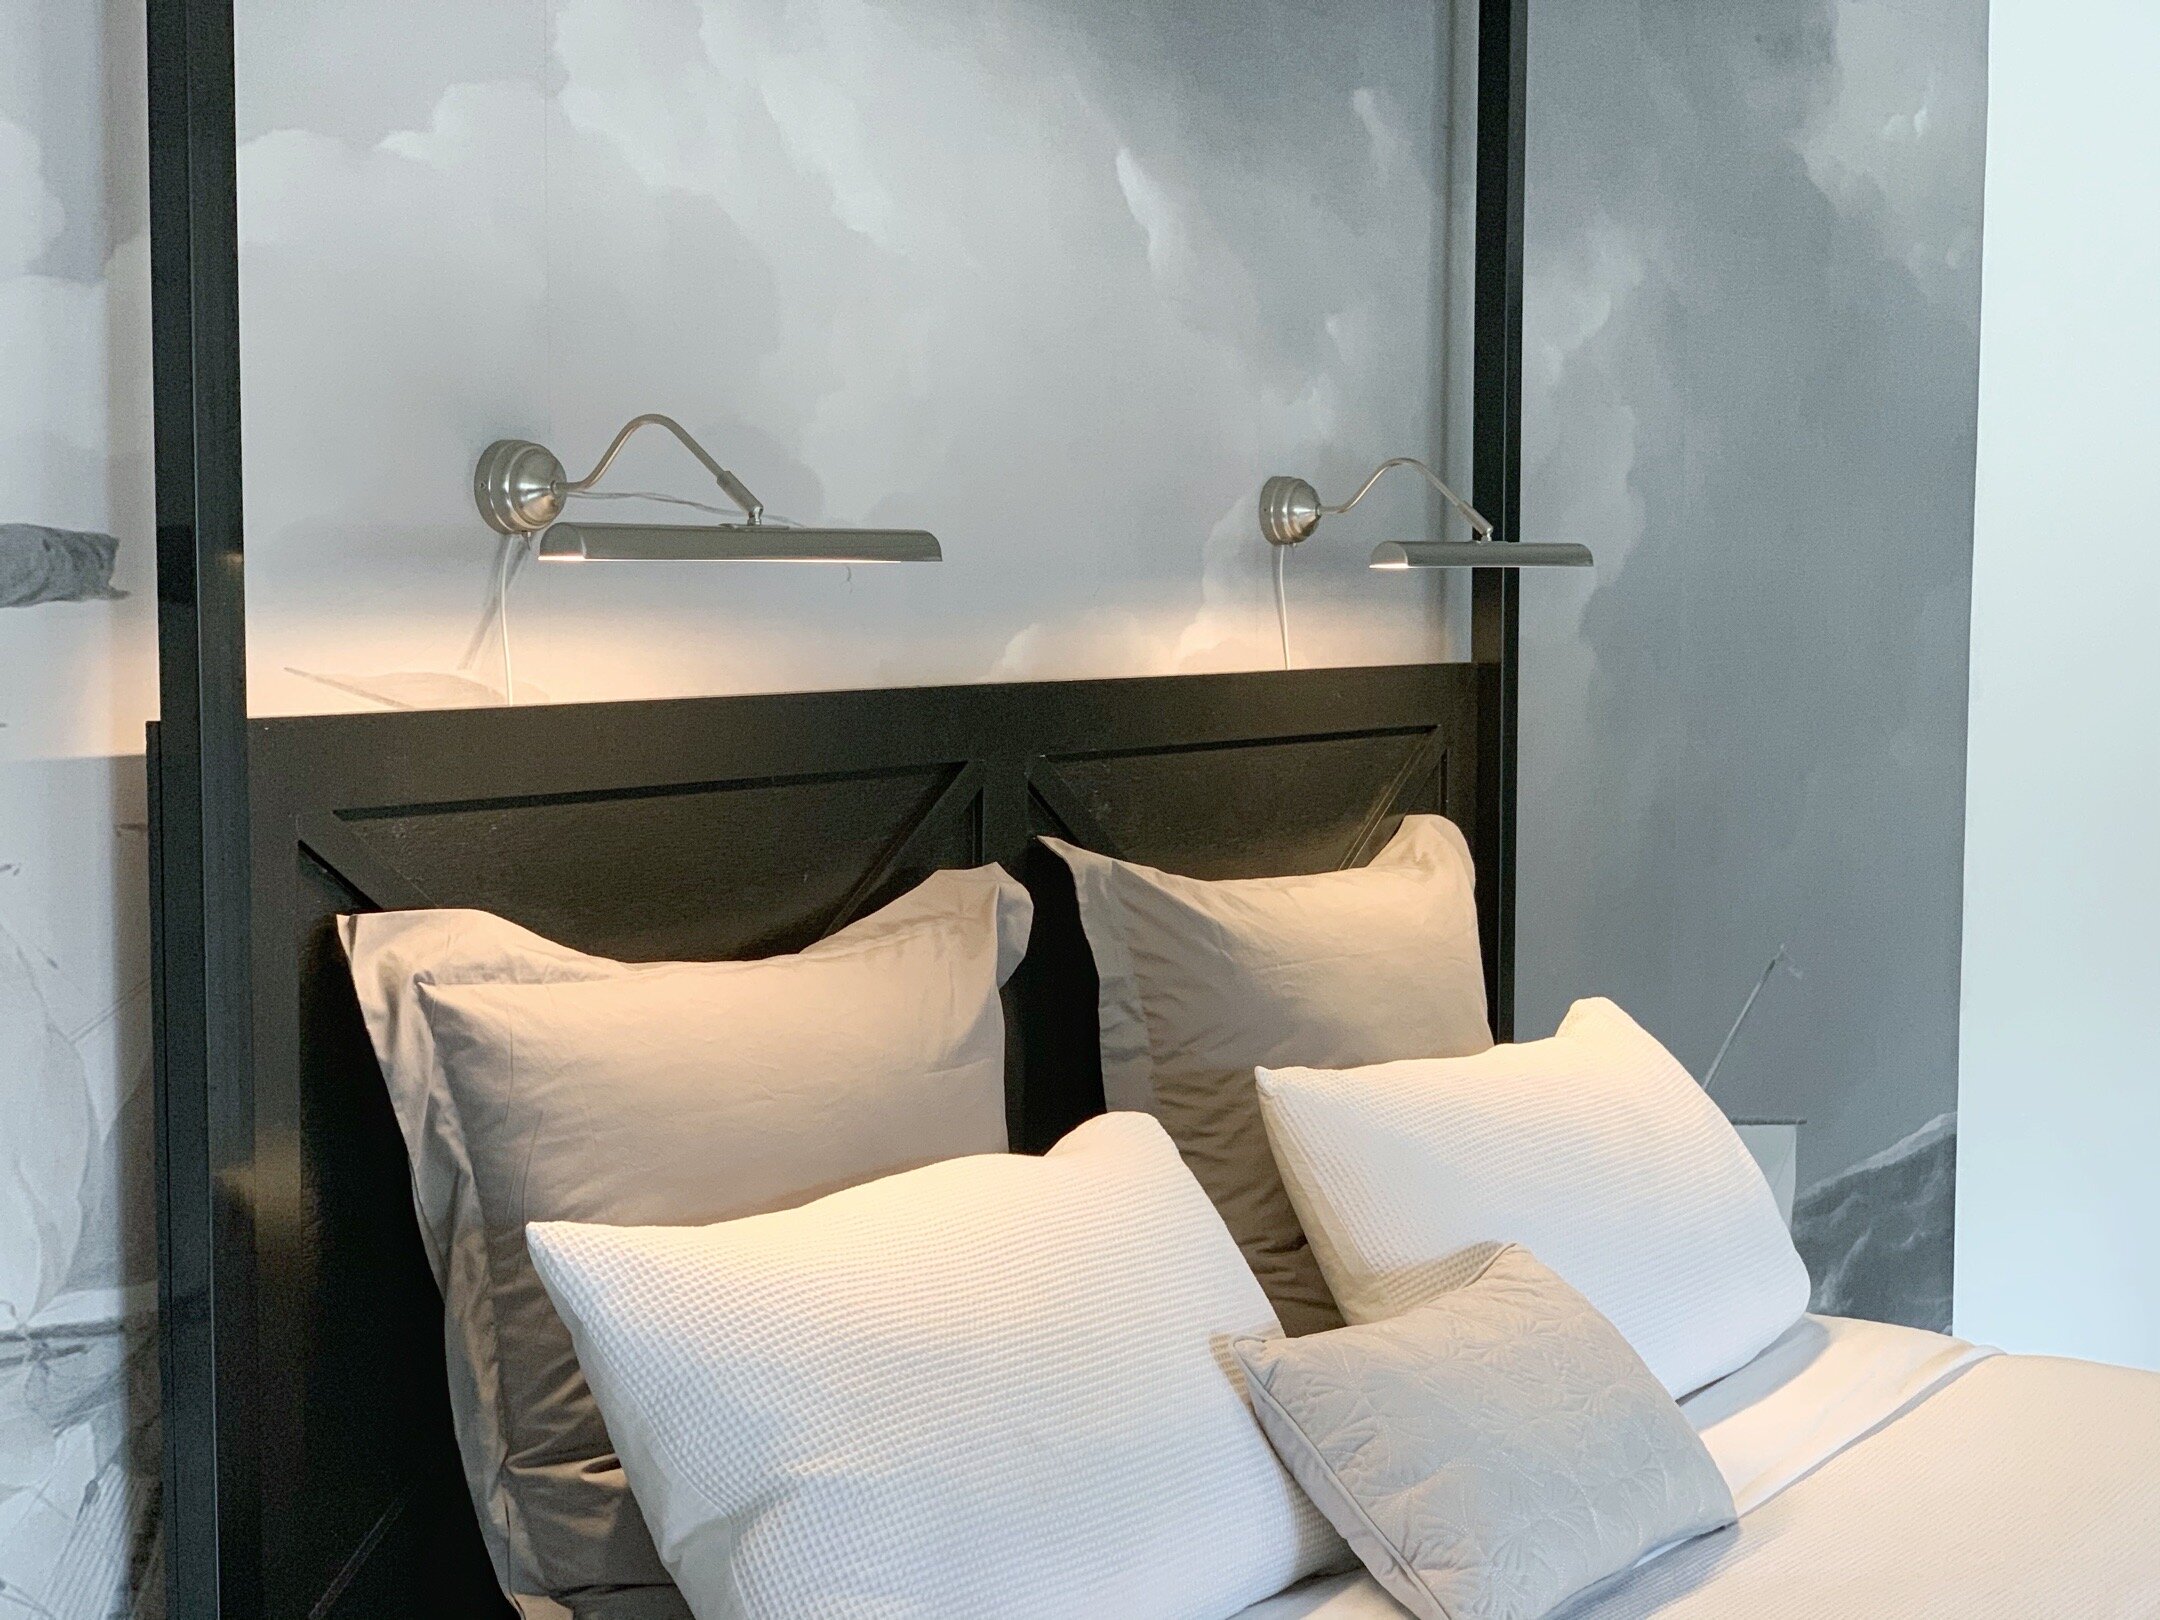
We had just purchased this king size 4 poster bed for $208 from Catch before we started this project, but you could mount your headboard to most metal or wood frame beds, or even to the wall if you have an ensemble (making sure to screw it into the studs as it’s heavy).


Step 1
Measure your bed frame and decide how far out and up you would like your panel to sit, remembering if you have european pillows or sit up in bed you want it to be high enough, and you probably want too see some of that detail trim. ALSO make sure you have your mattress on the bed when measuring, so you can factor the correct height of it.
Step 2
Cut the Ply panel to the size you just measured, we used a circular saw but you could also use a table saw, jig saw or even a hand saw. Pencil on the line where you need to cut first, using a ruler or set square. Double check them and check your bed frame is square, you may actually need to cut your ply slightly off square to match the frame.
Step 3
Sand your ply if there are any groves in the grain (if you used structural ply like I did, sand it well, if not, a slight rough up, like just a few strokes of 220 grit going along the same direction as the grain by hand is enough). Basically, smooth it out.
Optional: At this point it’s a good idea to paint on a primer, I didn't, but if you plan to paint it white you may like to use something stain blocking to avoid tannin bleed depending on the material you chose (Zinisser Cover Stain is the ONLY one I recommend when painting light colours over wood, get some terps too if using the bucket not the spray can, it’s oil based but you go over it with acrylic top coat after a 72hr dry time). If painting dark, skip this.
Optional #2: You can also go ahead and paint the backing board your final colour now too. I didn’t, but you can if you want. The pros are that you can roll 2-3 coats on it really easily, and as long as you’re careful it makes the final step easier. The cons are that it may scratch when you are installing the next pieces and you may still need to touch it up, and you can’t paint the primed pine pieces until they are installed anyway because you need to fill the nail holes.
Step 4
Time to trim the outside boarder (this is what I used the 67mm primed pine for) keeping in mind where your mattress comes to, see pics, we offset the boarder to start just above the mattress line!
So you measure the length and height of the backing ply from the top of the mattress up, and mark where to place these, marking it out on the backing board using that ruler again is a way of double checking the measurements, and will make installing them straight easier too. This helps you to get the inside and outside measurements for the frame trim. This is good when you go to cut them on a 45 degree angle and you need to remember to cut the right angle.
Transfer these measurements onto the 67mm primed pine pieces and set your drop saw angle to 45 degrees, double check your angle is going the correct way before you cut each end!
You’ll now have two short and two long pieces, that fit together like a photo frame. Sit them in place on the backing board to check they are correct, If anything is 1-2mm out don’t stress, you can fill those gaps later.
Apply a thin squiggly line of glue to the back of your primed pine pieces, then one by one line them up (have someone hold them if you don’t have clamps), and use the Nigel Nailer to pin them in place. You don’t need many nails, one in each corner and two between is fine. The more you nail the more you have to fill later, but you also want it strong. The glue does most of the work once it dries (but go easy on the glue). Wipe away any excess glue while it’s still wet!
At this point, go back and measure and cut the final 67mm piece for the middle of the board. Measuring the space now works better, as you can allow for any movement that may have happened on frame install, and get a better fit. Remember to cut this one square/straight, not angled, reset that drop saw angle! Glue and nail the same way you just did for the frame.
Step 5
Now you’re going to do the same thing for the first two 30mm primed pine inside pieces, draw the lines on where you want the crosses to be, and, this is the tip of the century here: You don’t cut and measure a pre-calculated fancy angle here, you hold them up so they line up with each corner, sitting over the top of the boarder frame, then just mark/trace the exact cut lines on the primed pine piece itself (so draw an arrow shape onto the 30mm trim exactly where it will need to be cut to line up with the inside of each corner of the frame you just installed).
Cut one end at a time then check it by inserting the piece into place on the headboard, line it up again with the opposite corner, and mark the other end, then cut that too.
OR you can make your cross extra steep, so you only have to cut one angle, up to you. If you are struggling here, try it on some cardboard or paper first and hold it up to check.
Step 6
Glue and nail to install those first two angle pieces.
Now do the opposite side of the cross using the same idea, but this time, mark the middle cut as well when you hold it up to trace, because you’ll need to cut two smaller pieces for each cross going the other way (as in, the first cross pieces go through the middle of the second ones) see pics.
Step 7
Let it dry overnight, make sure the glue is completely set, then fill all the holes and any small gaps in the joins with wood filler just using your fingertip to push some into each hole, then swiping a clean finger back over to remove excess.
If you want you can also run a line or paintable caulk around the inside and outside where the primed trim meets the backing board. Then run an old plastic card around them, or just your finger dipped in a bit of water to remove the excess and ensure the seam is perfect.
Step 8
Let it dry overnight again, give any spots a light sand with 180-220 grit sandpaper to smooth them completely. This is often underestimated, make sure this part is done well and you will thank yourself later. Don’t oversand any of the primed pieces though, you need that primer!
Step 9
Basically the step you’ve been waiting for this entire time, PAINT!
Use an angle brush to get in all the grooves then a 10-12nap microfibre roller to paint the flat parts and top of the trim (or use the brush for it all, painting with the grain in long, even strokes).
If you use the same paint and colour I did, expect to need 3-4 coats. It is self-levelling and very durable, but a thin paint to apply. Re-coat time for me is usually 2hrs, more if its very humid, or cold and rainy. Double check the instructions on the tin.
When you have your final coat finished, remember it takes 7-9 days for paint to fully cure and harden to it’s maximum durability. Some paints take 28 days. No matter what the tin says, even if it says 24hr dry time, wait longer, at least 2 days, or a week to be safe, before installing the board. You’re going to be pressing hard on it, and if you want to avoid fingerprints or scratches, you need to be sure it’s set fully. You’ve done all this work, it’d be a pity to ruin it be being impatient now…
Step 10
Install the backing board, double check that your screws are the correct thickness so that they will not poke out through the front of your frame. We chose our thickness by adding the thickness of the backing board, to the thickness of the metal bed frame and ensuring there was AT LEAST 15mm spare.
Screw from the back of the bed, through the frame to the front. Get someone to help you here, we mounted to the back to hide the screws.
If you are detail oriented you may choose to paint the back of the board and the screws to match, I’ll let you in on a little secret: I didn’t.
Step 11
Stand back and enjoy feeling awesome! YOU did this! DM me a pic on my Instagram so I can be proud of you too, I love to share what everyone gets up to and celebrate learning together.