
BRICK MAKEOVER PART 2: PAINTED BRICK
How we painted our DIY bagged brick home in Australia.
A step by step guide to an easy, affordable DIY brick renovation idea that transformed our brick home on a budget with good prep, the right paint and a lot of patience.
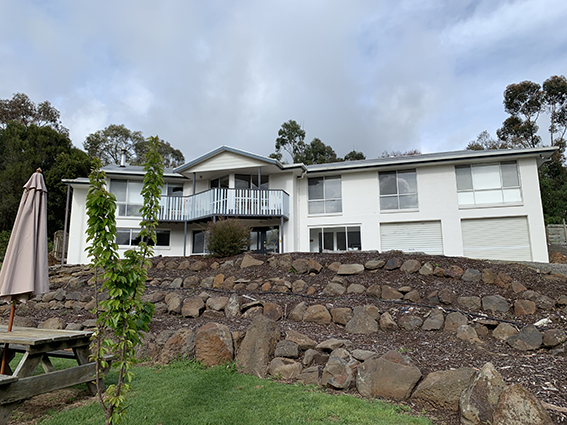
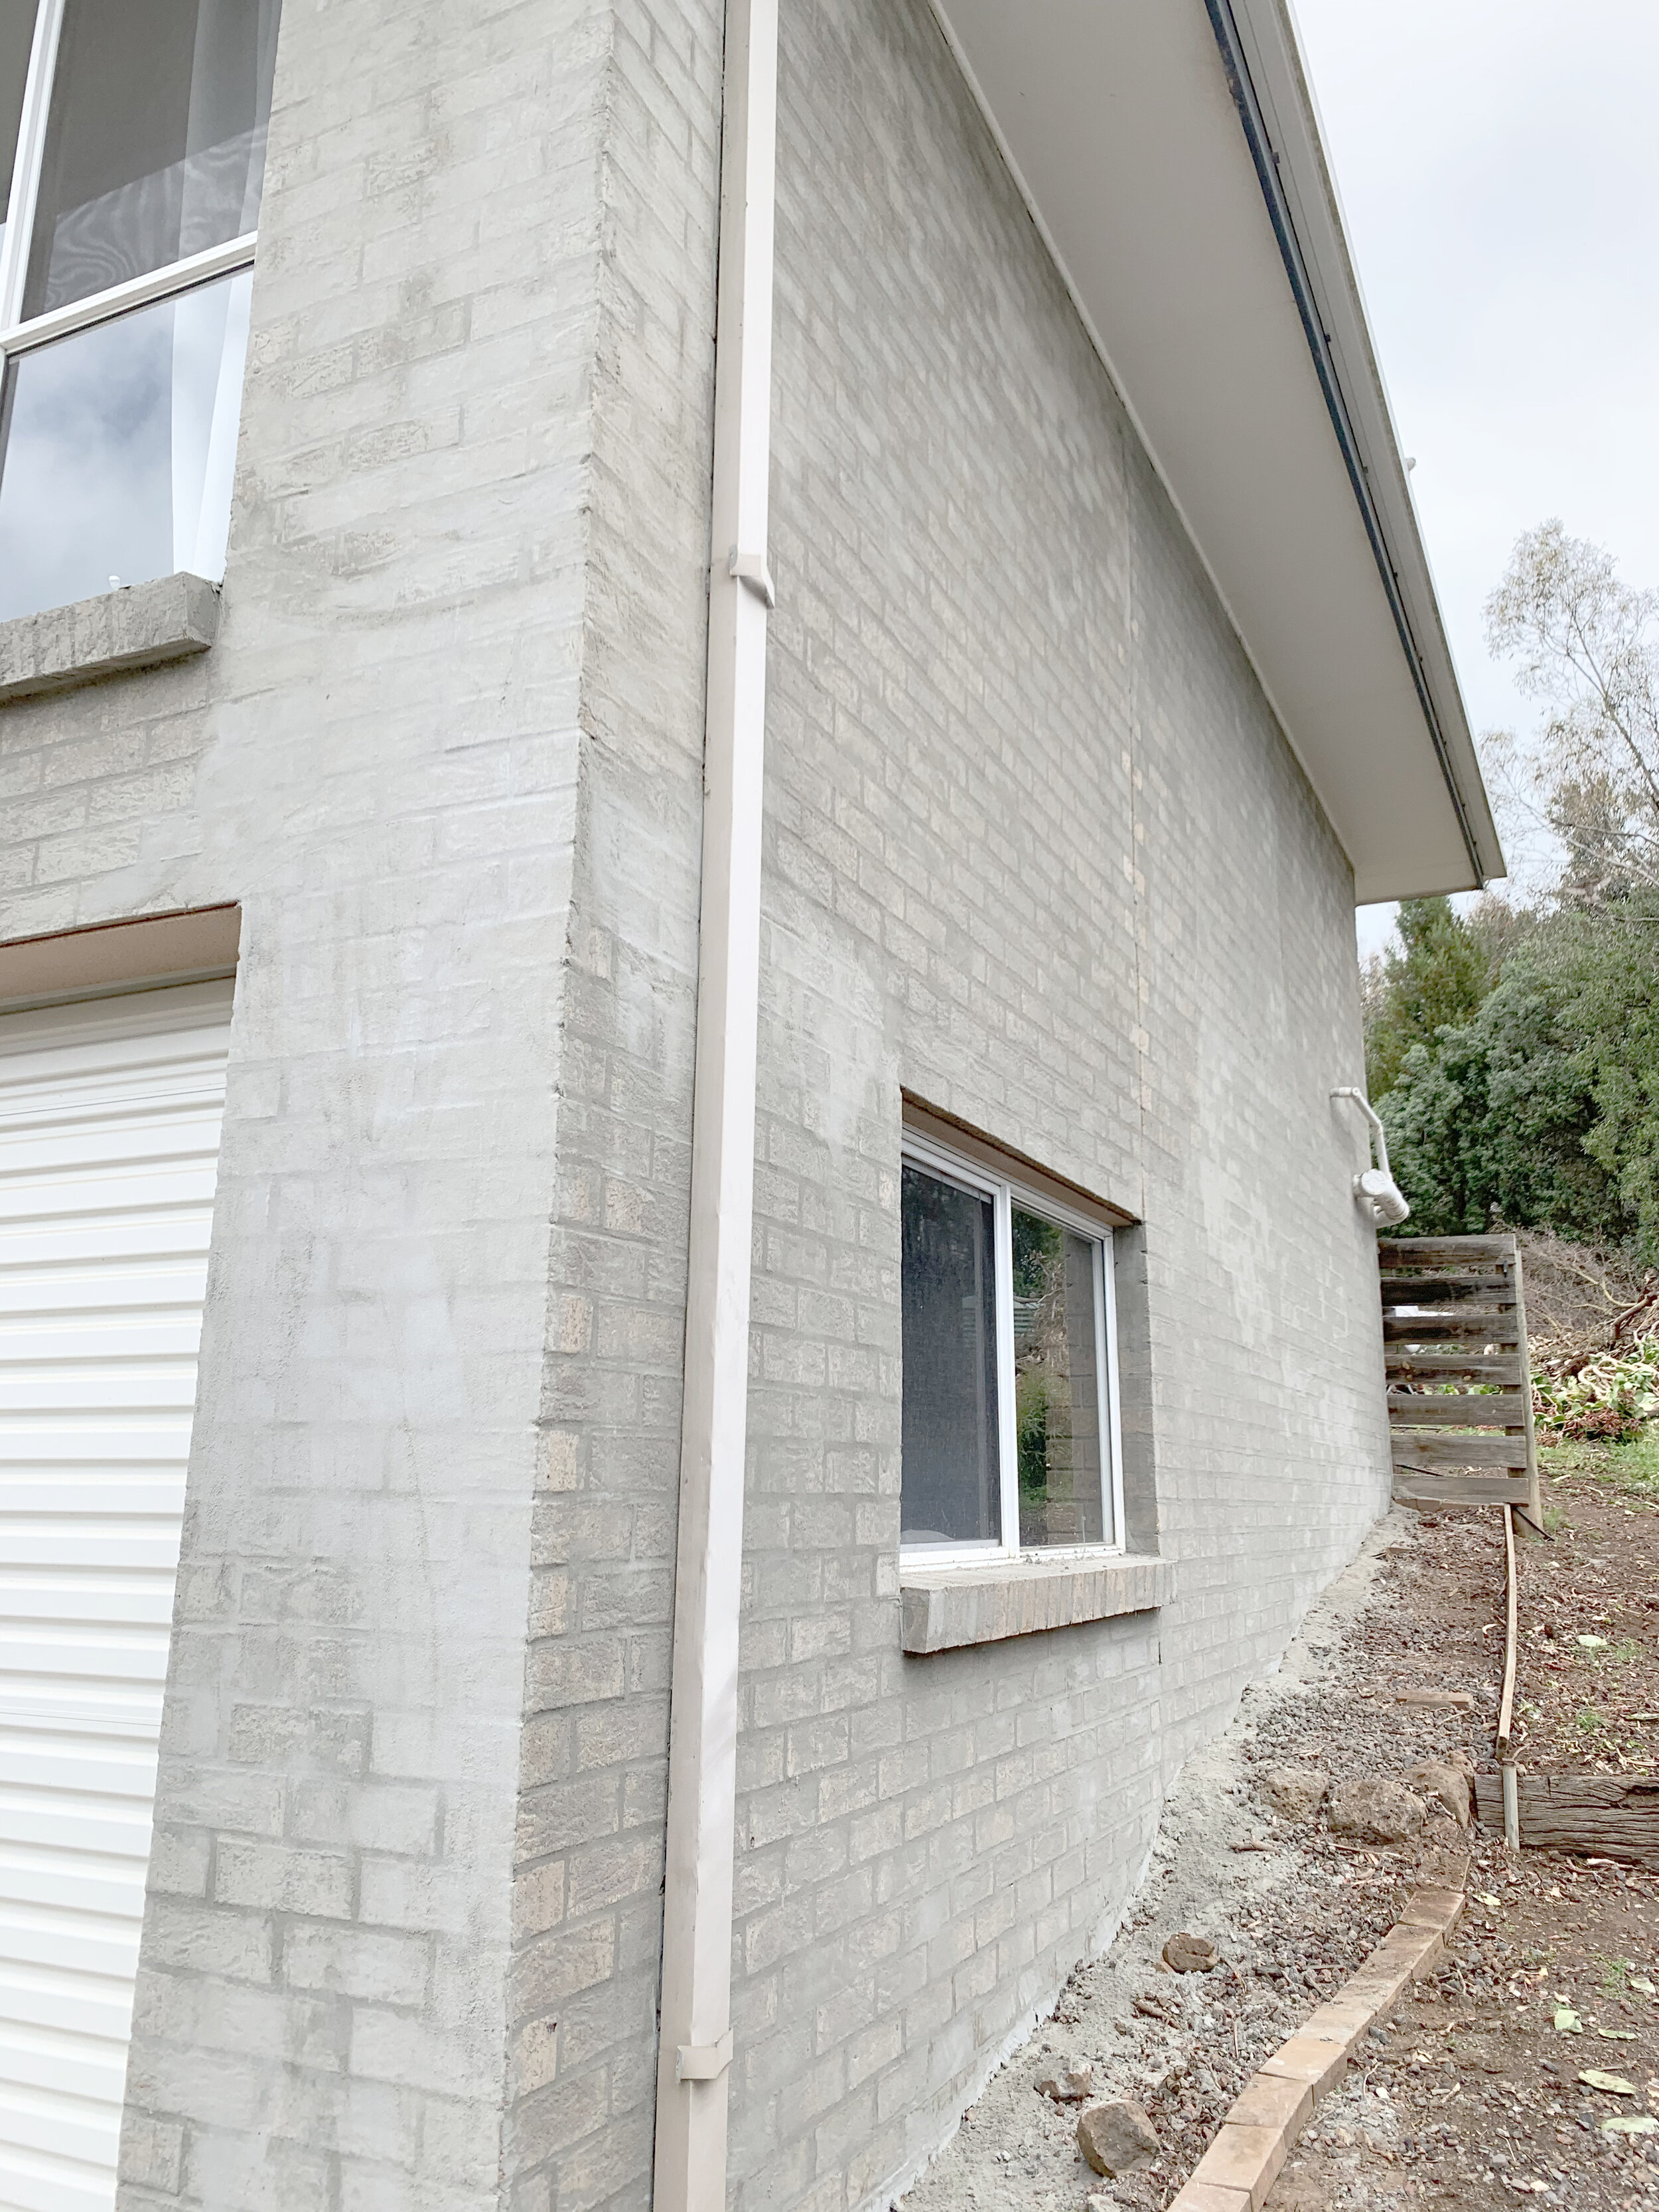
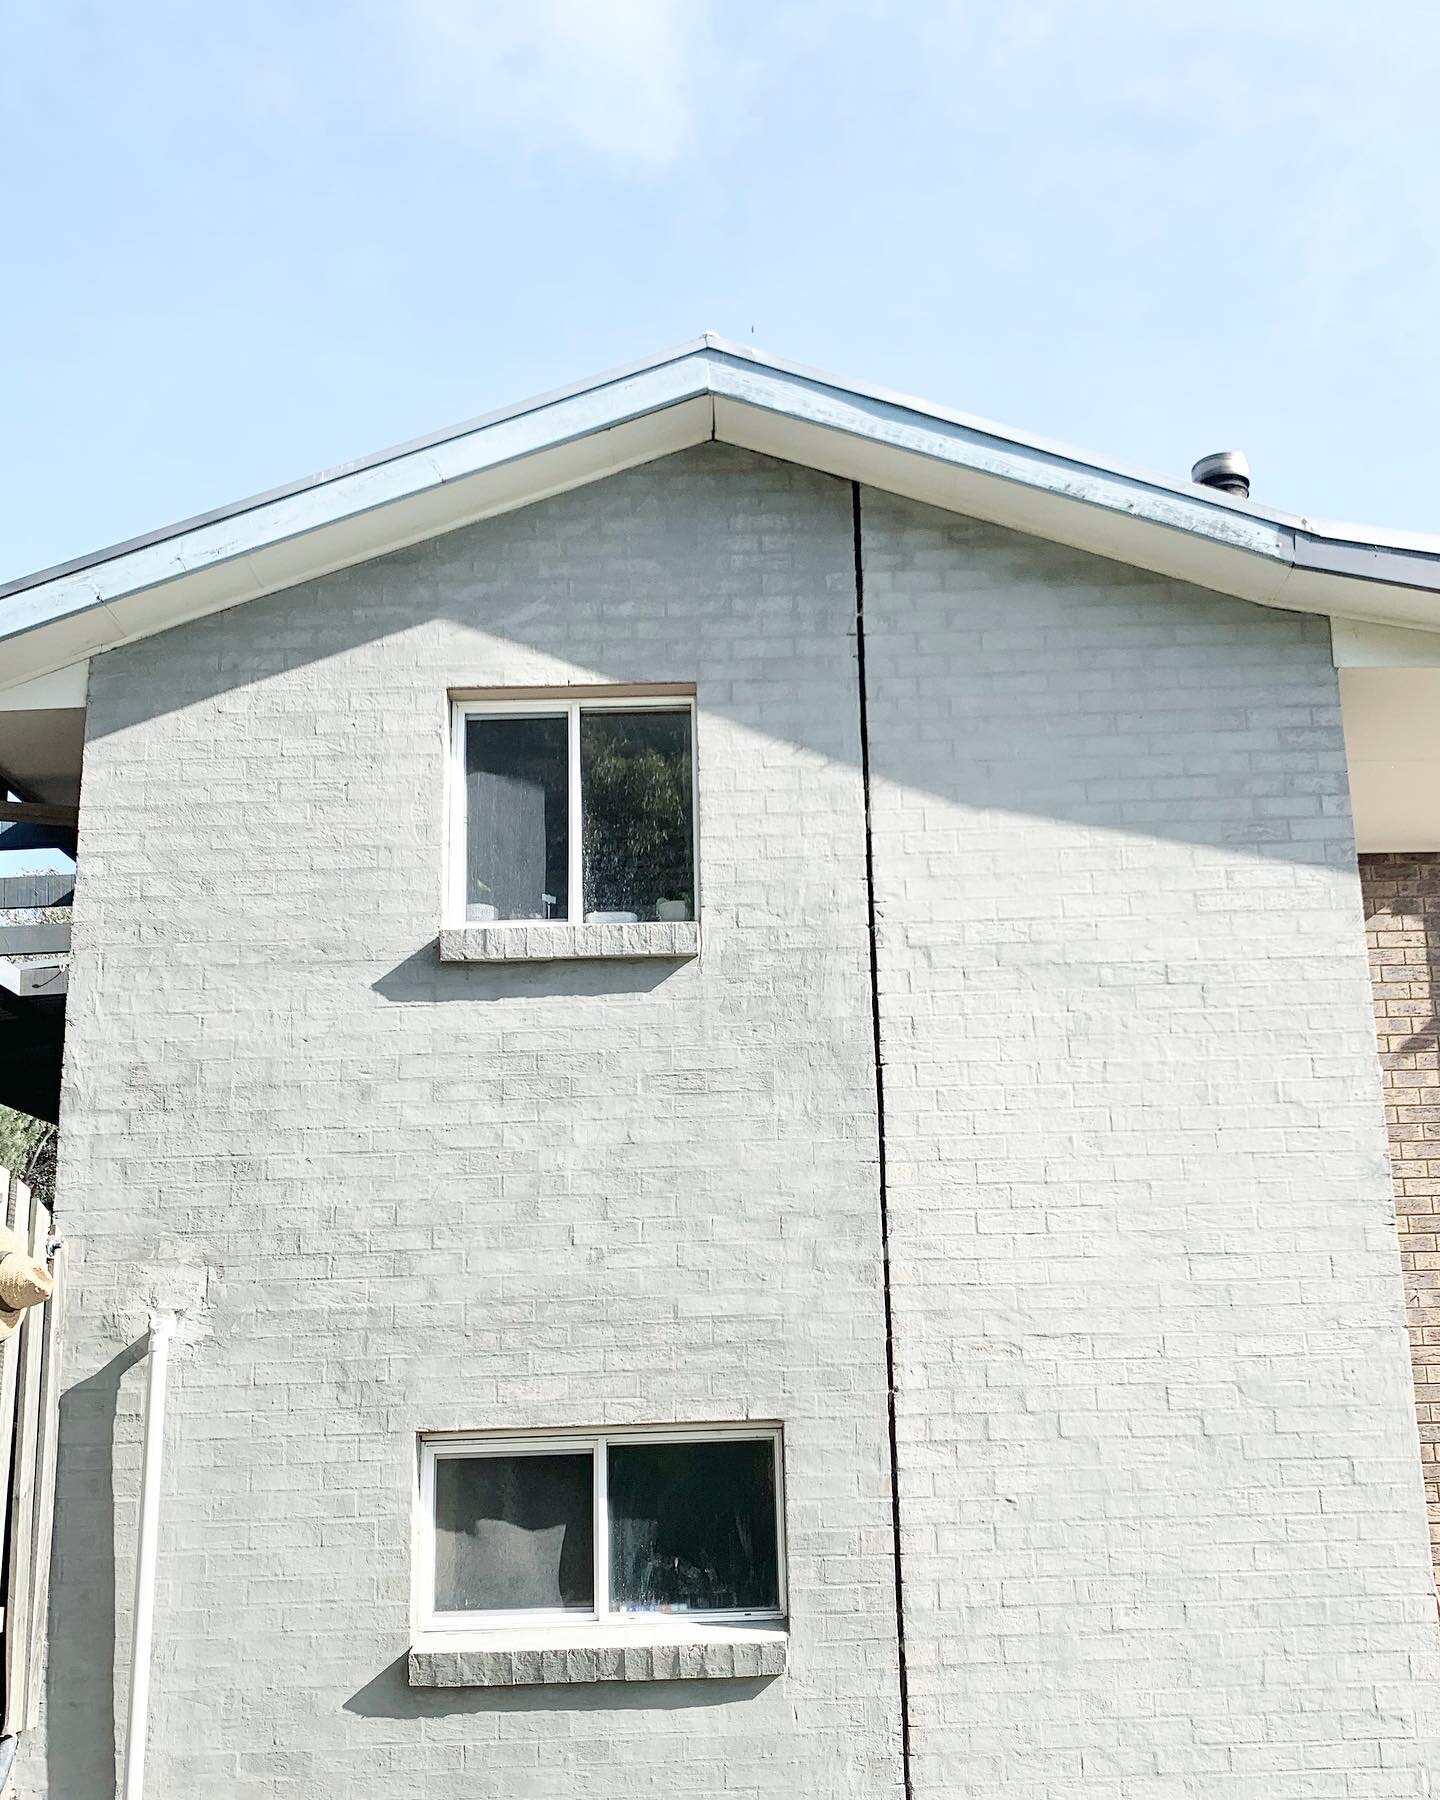
AFTER
Our beautiful white freshly painted brick home is so much lighter and brighter. Next-up: painting the trim + garage doors black!

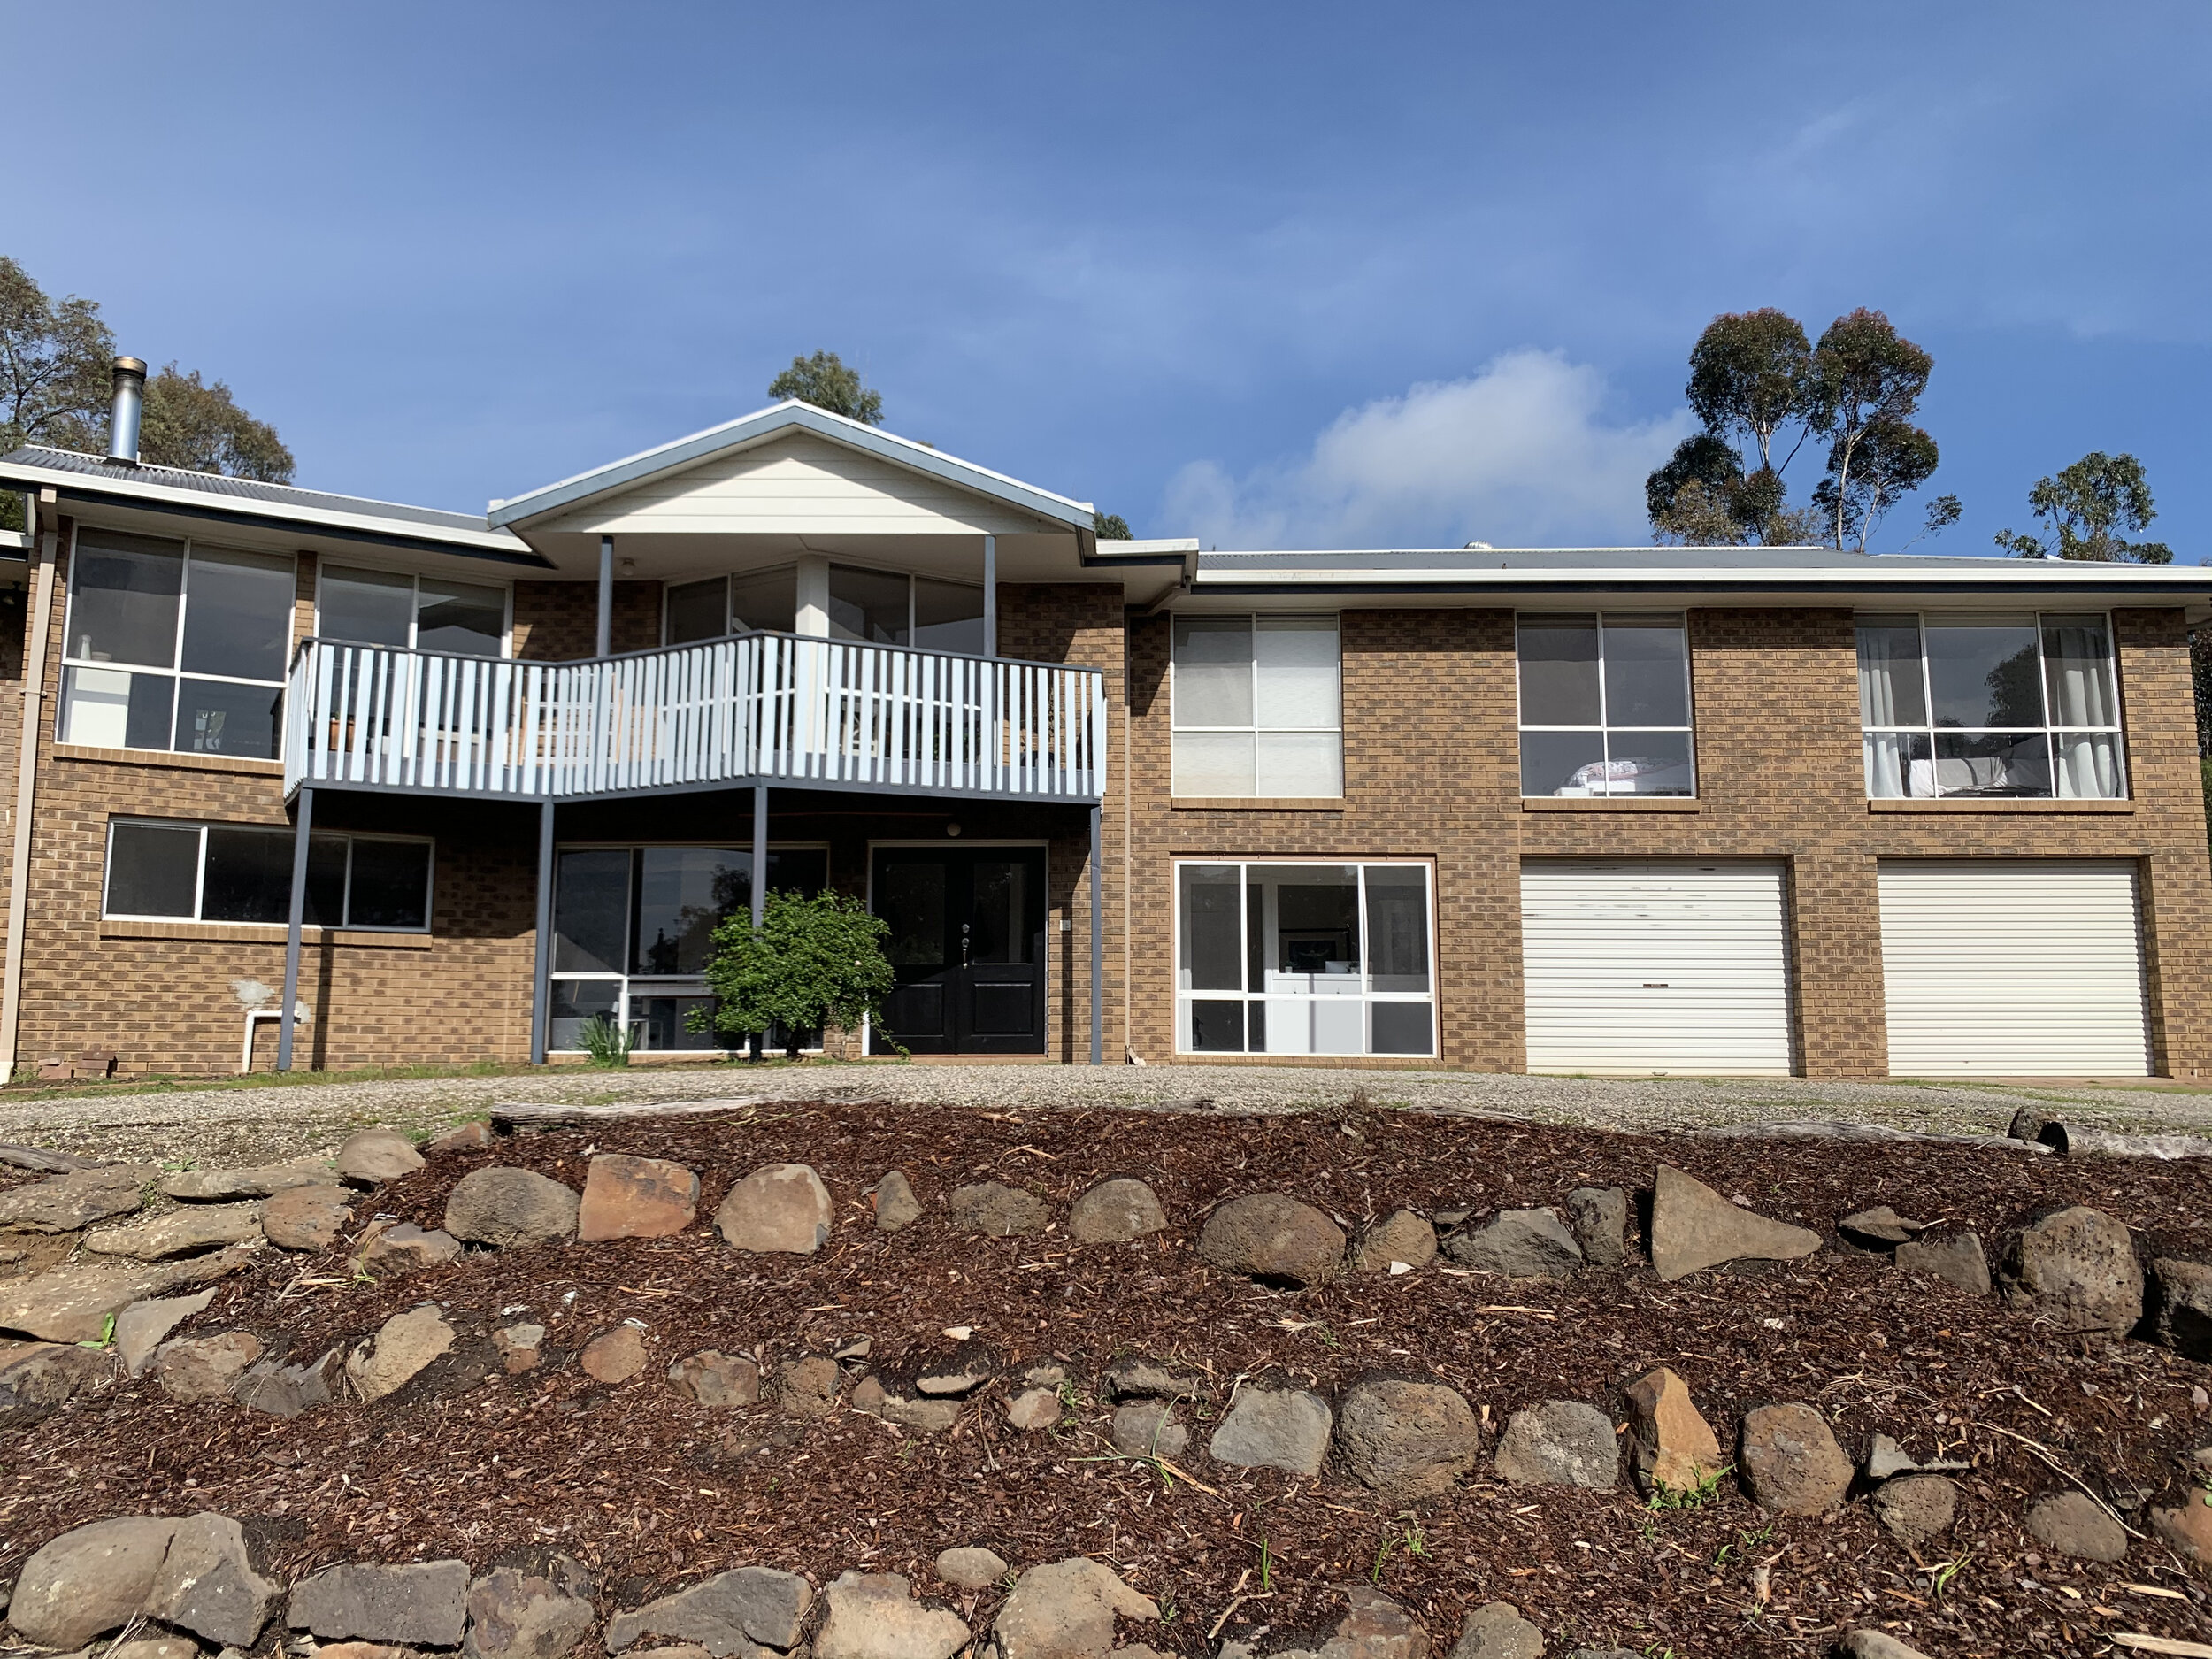
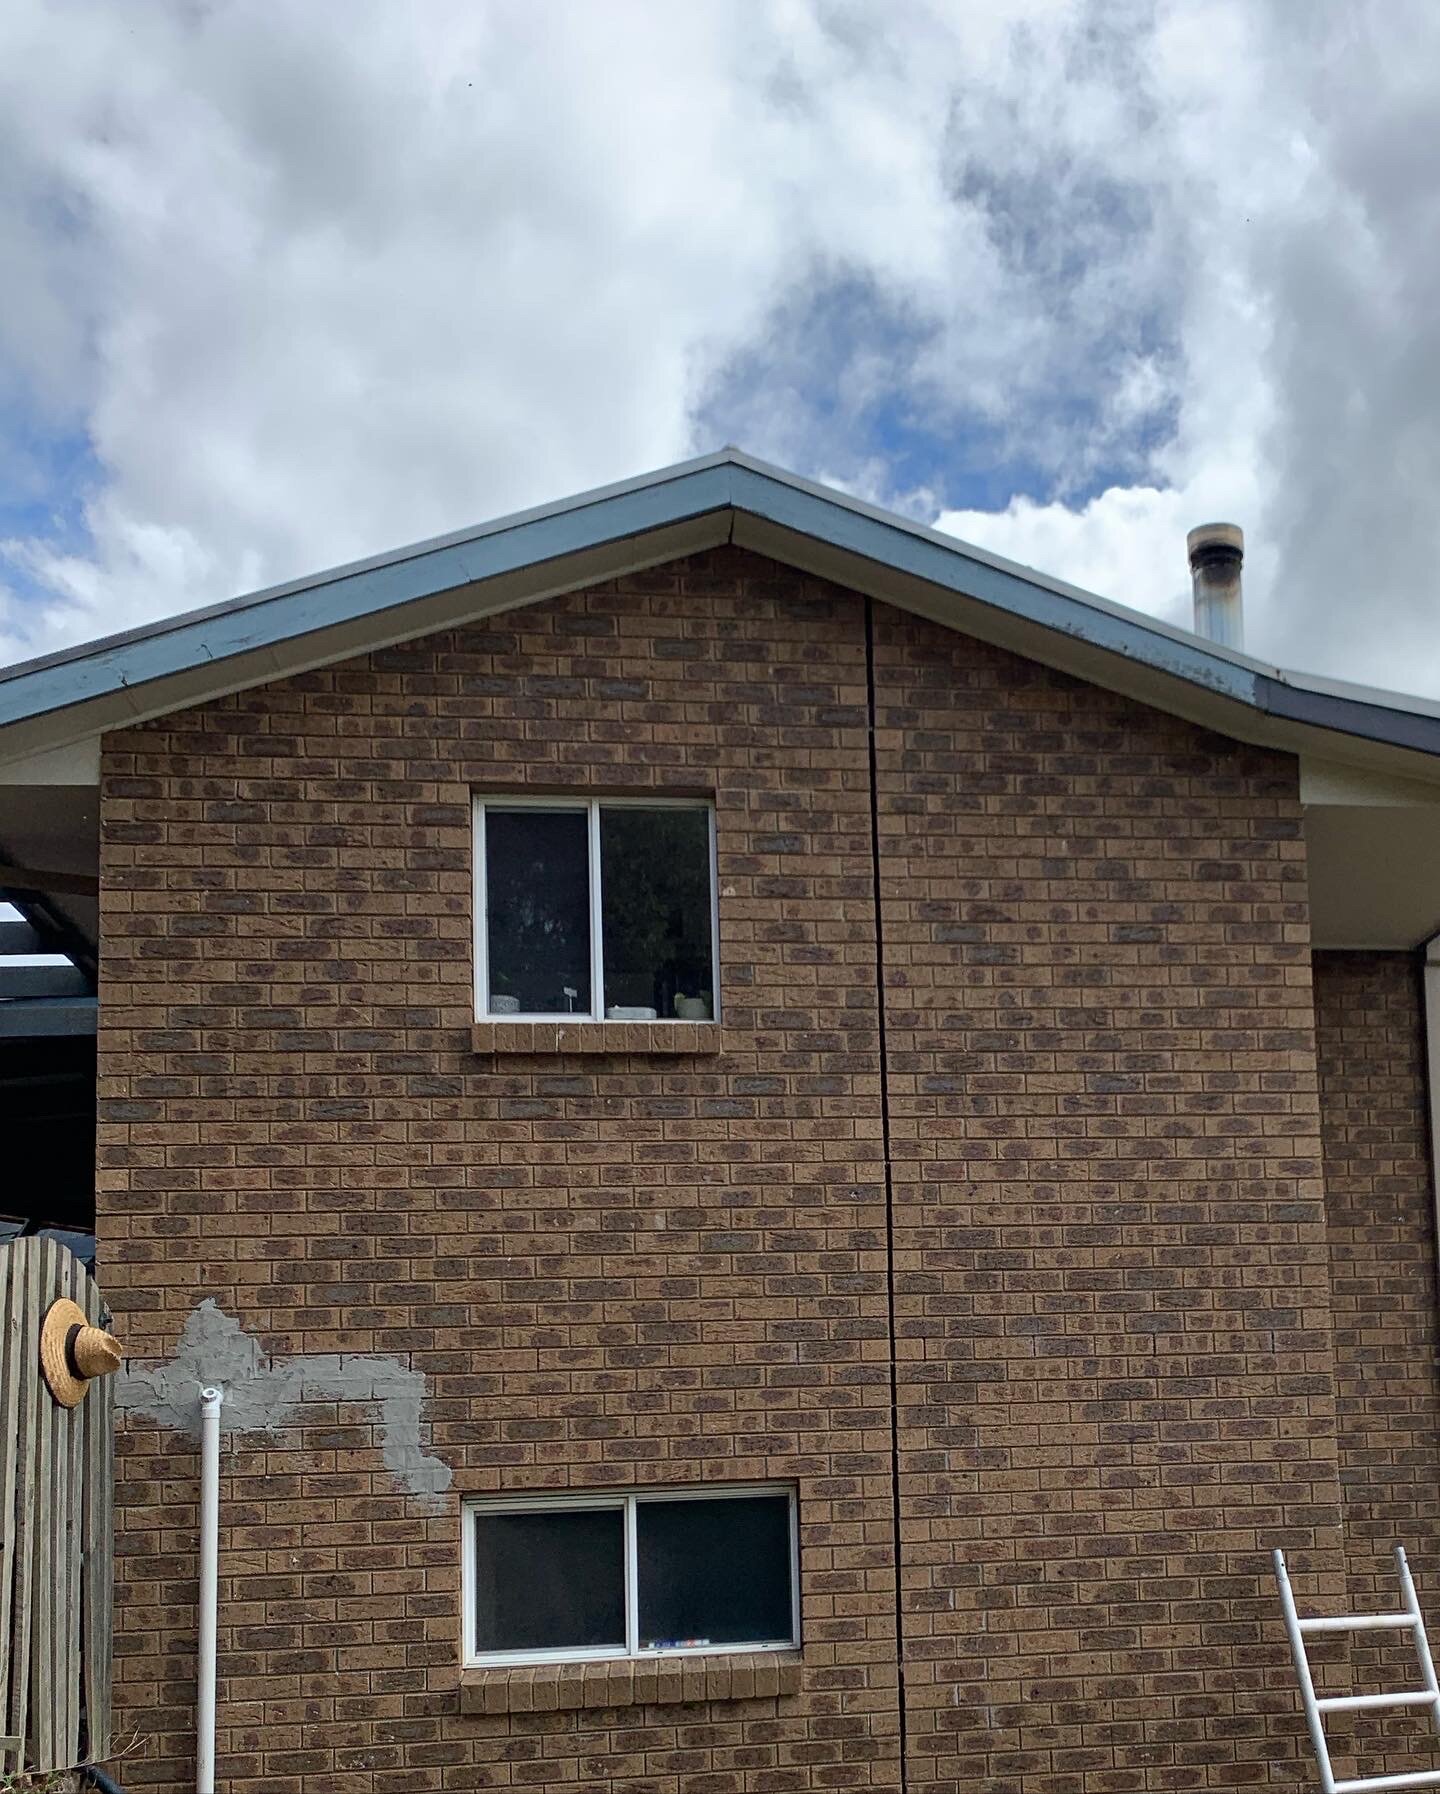
BEFORE
When we first purchased our ugly brown brick home (taken just after removing the staircase + replacing the front door).
THINGS WE USED
50L Undercoat - We used Tint Paint “Prep” (quantity calculation further down this post)
40L Exterior Paint - Tint Paint Exterior in colour “Old School” (quantity calculation further down this post)
NOTE: When painting over brick or bagged brick you MUST use a paint and undercoat approved for use on brick/masonry, the paint needs to breathe, allowing the brick to function the way it always has. All paint brands list approved applications on the tin.
Paint Rollers & Frame (I used 270mm, make sure your tray fits the roller AND handle you have on it)
Paint Trays (I line mine with plastic bags so I don’t have to wash the tray at the end)
Extension Poles ours are old as the hills so chose one that matches your roller frame (you can alternatively use a sprayer, however see my tips below before deciding)
Paint Brushes (have a few medium angled brushes on hand for tricky fiddly spots)
Paint Pot or container to hold the brush and some paint (you can use a glass jar if you like)
Power drill with paint mixing bit attached, or a paint mixing stick.
Drop sheets/plastic sheets
Access to clean water for washing up
Scaffolding (if your home is not single story) or a stable ladder if it is.
DISCOUNT CODE MARIKAKNOWSTHINGS FOR $30 OFF TINT PAINT ORDERS OVER $300
Our favourite paint supplier gave us a discount to share with you, so this part of the post is an ad. We ONLY recommend and promote products we have used ourselves and would buy again. We earn a small commission on sales using this code.
We paid for all the paint in this project ourselves after discovering Australian paint brand Tint Paint during the kids bedroom makeovers. Tint makes low VOC, vegan paint with really, really fantastic coverage and quality, plus, they have the most amazing customer service. It was an easy choice and has held up brilliantly everywhere we’ve used it.
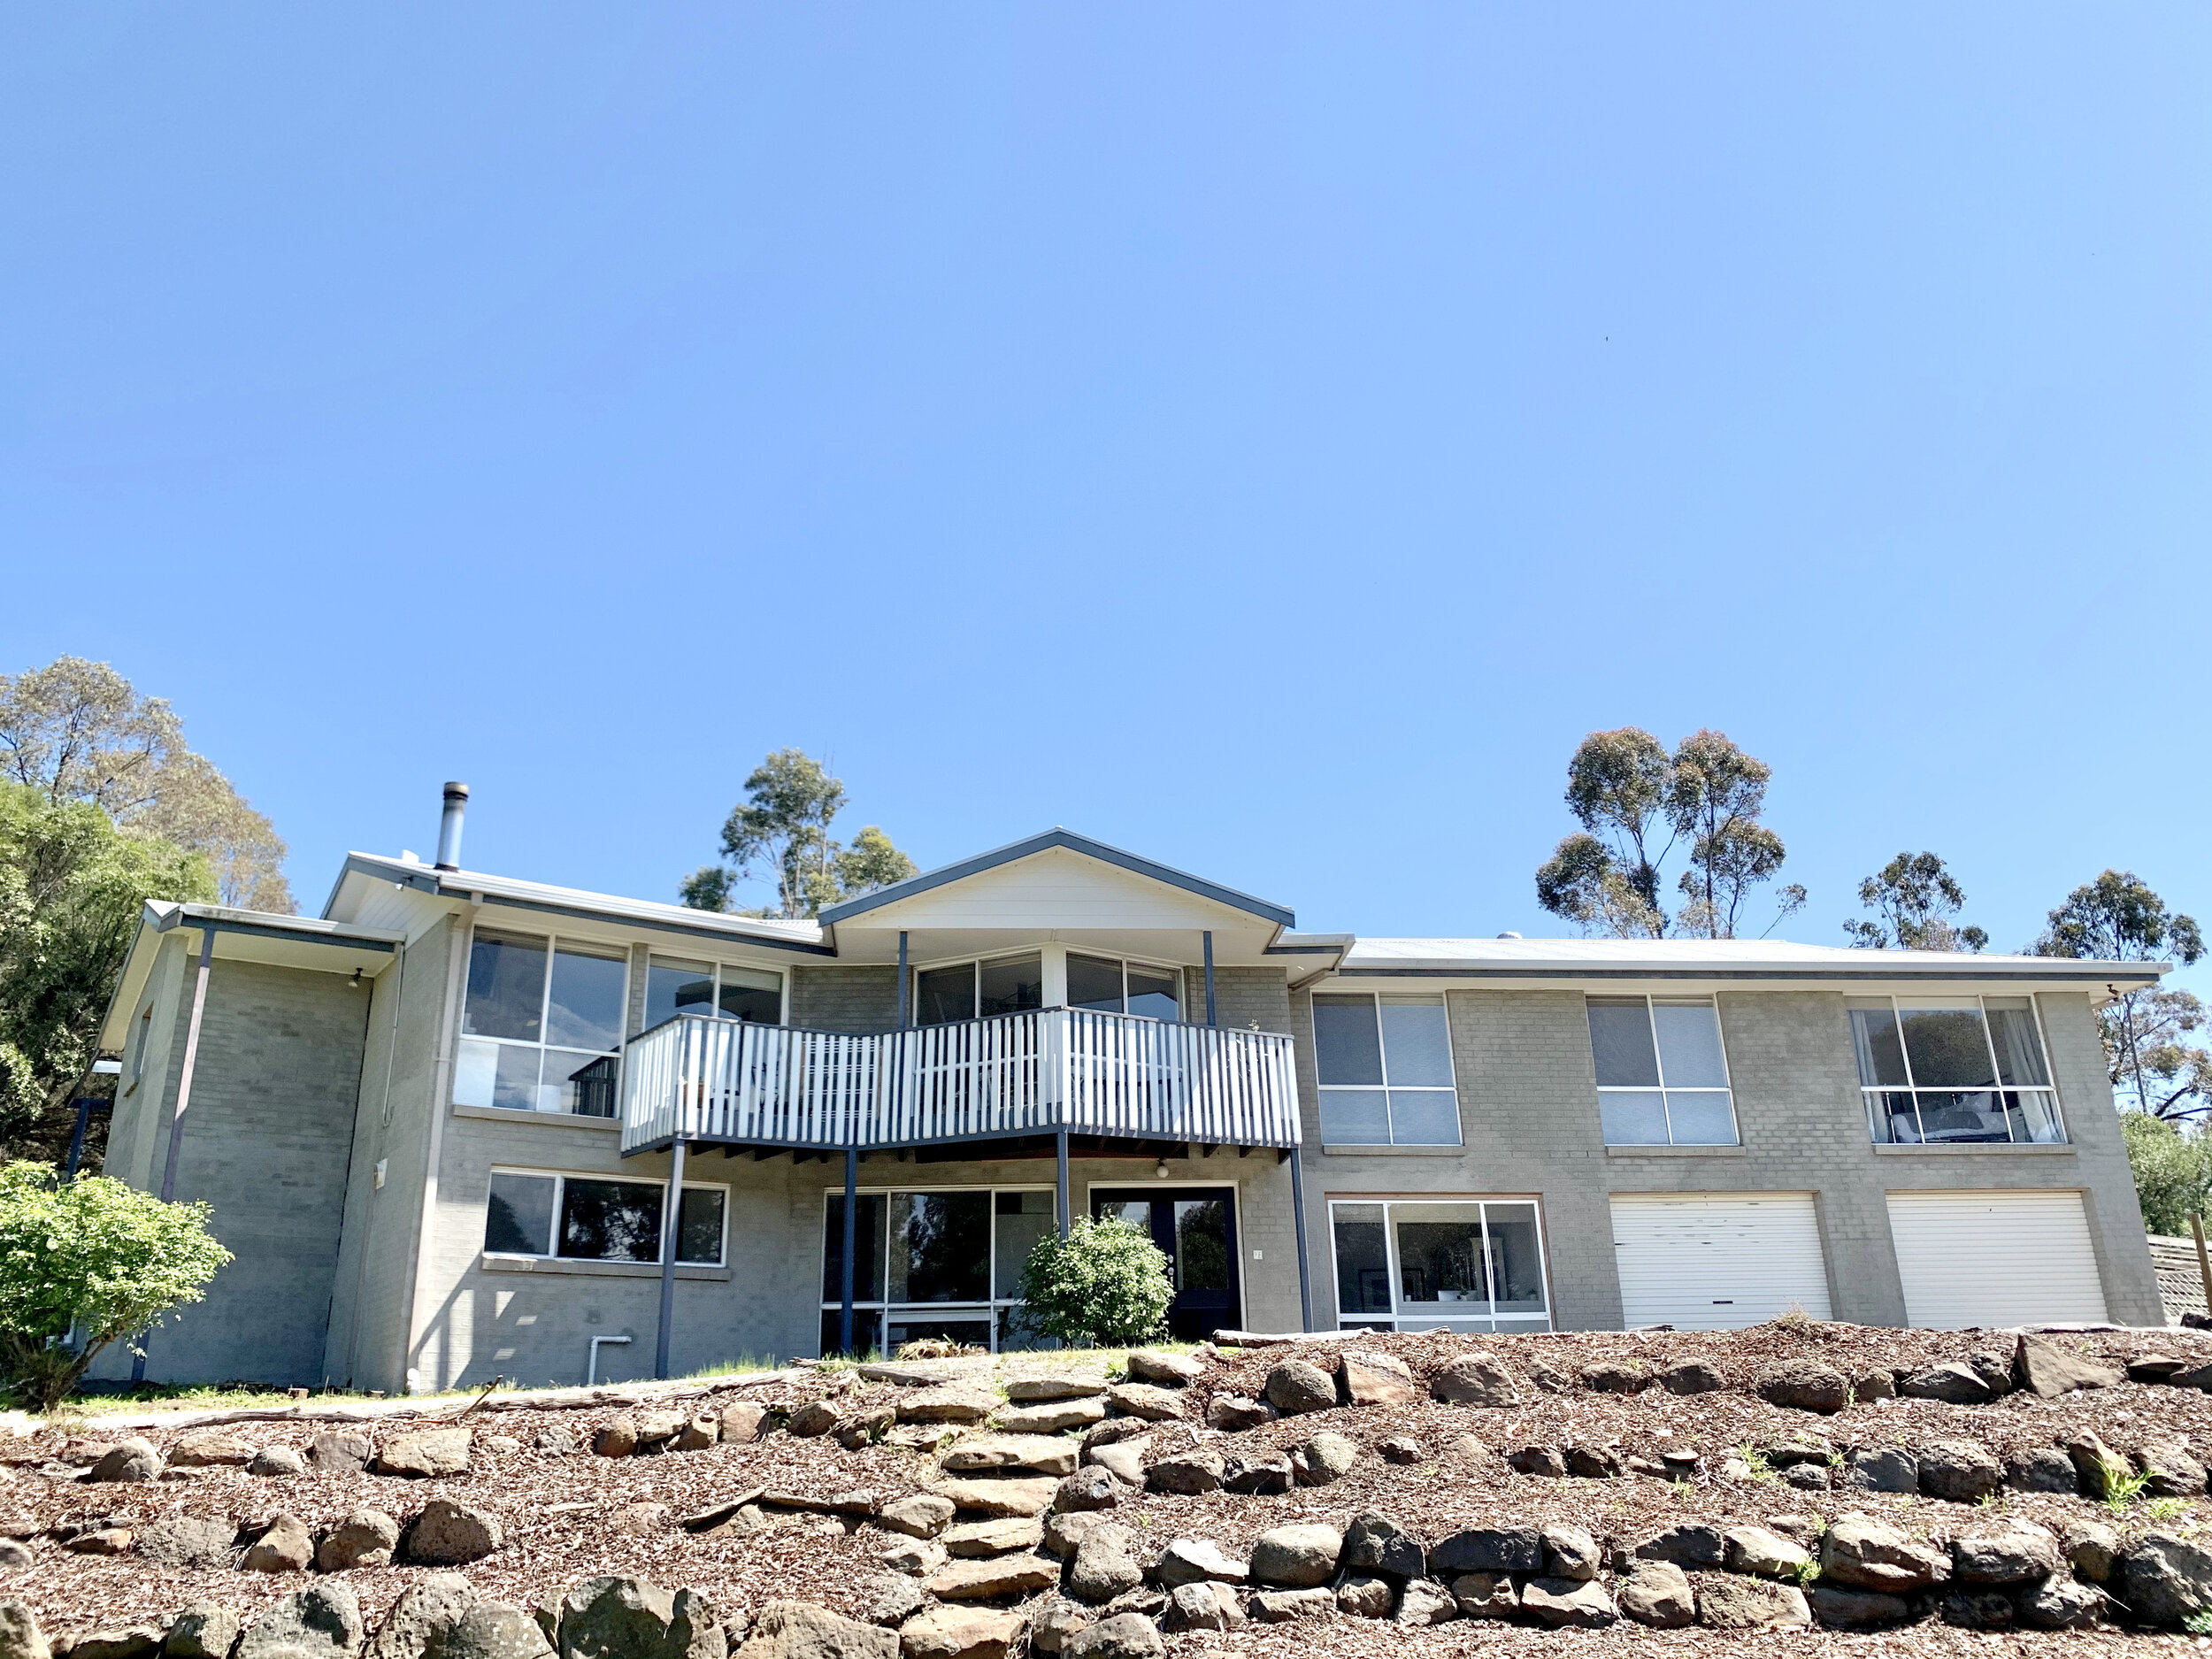
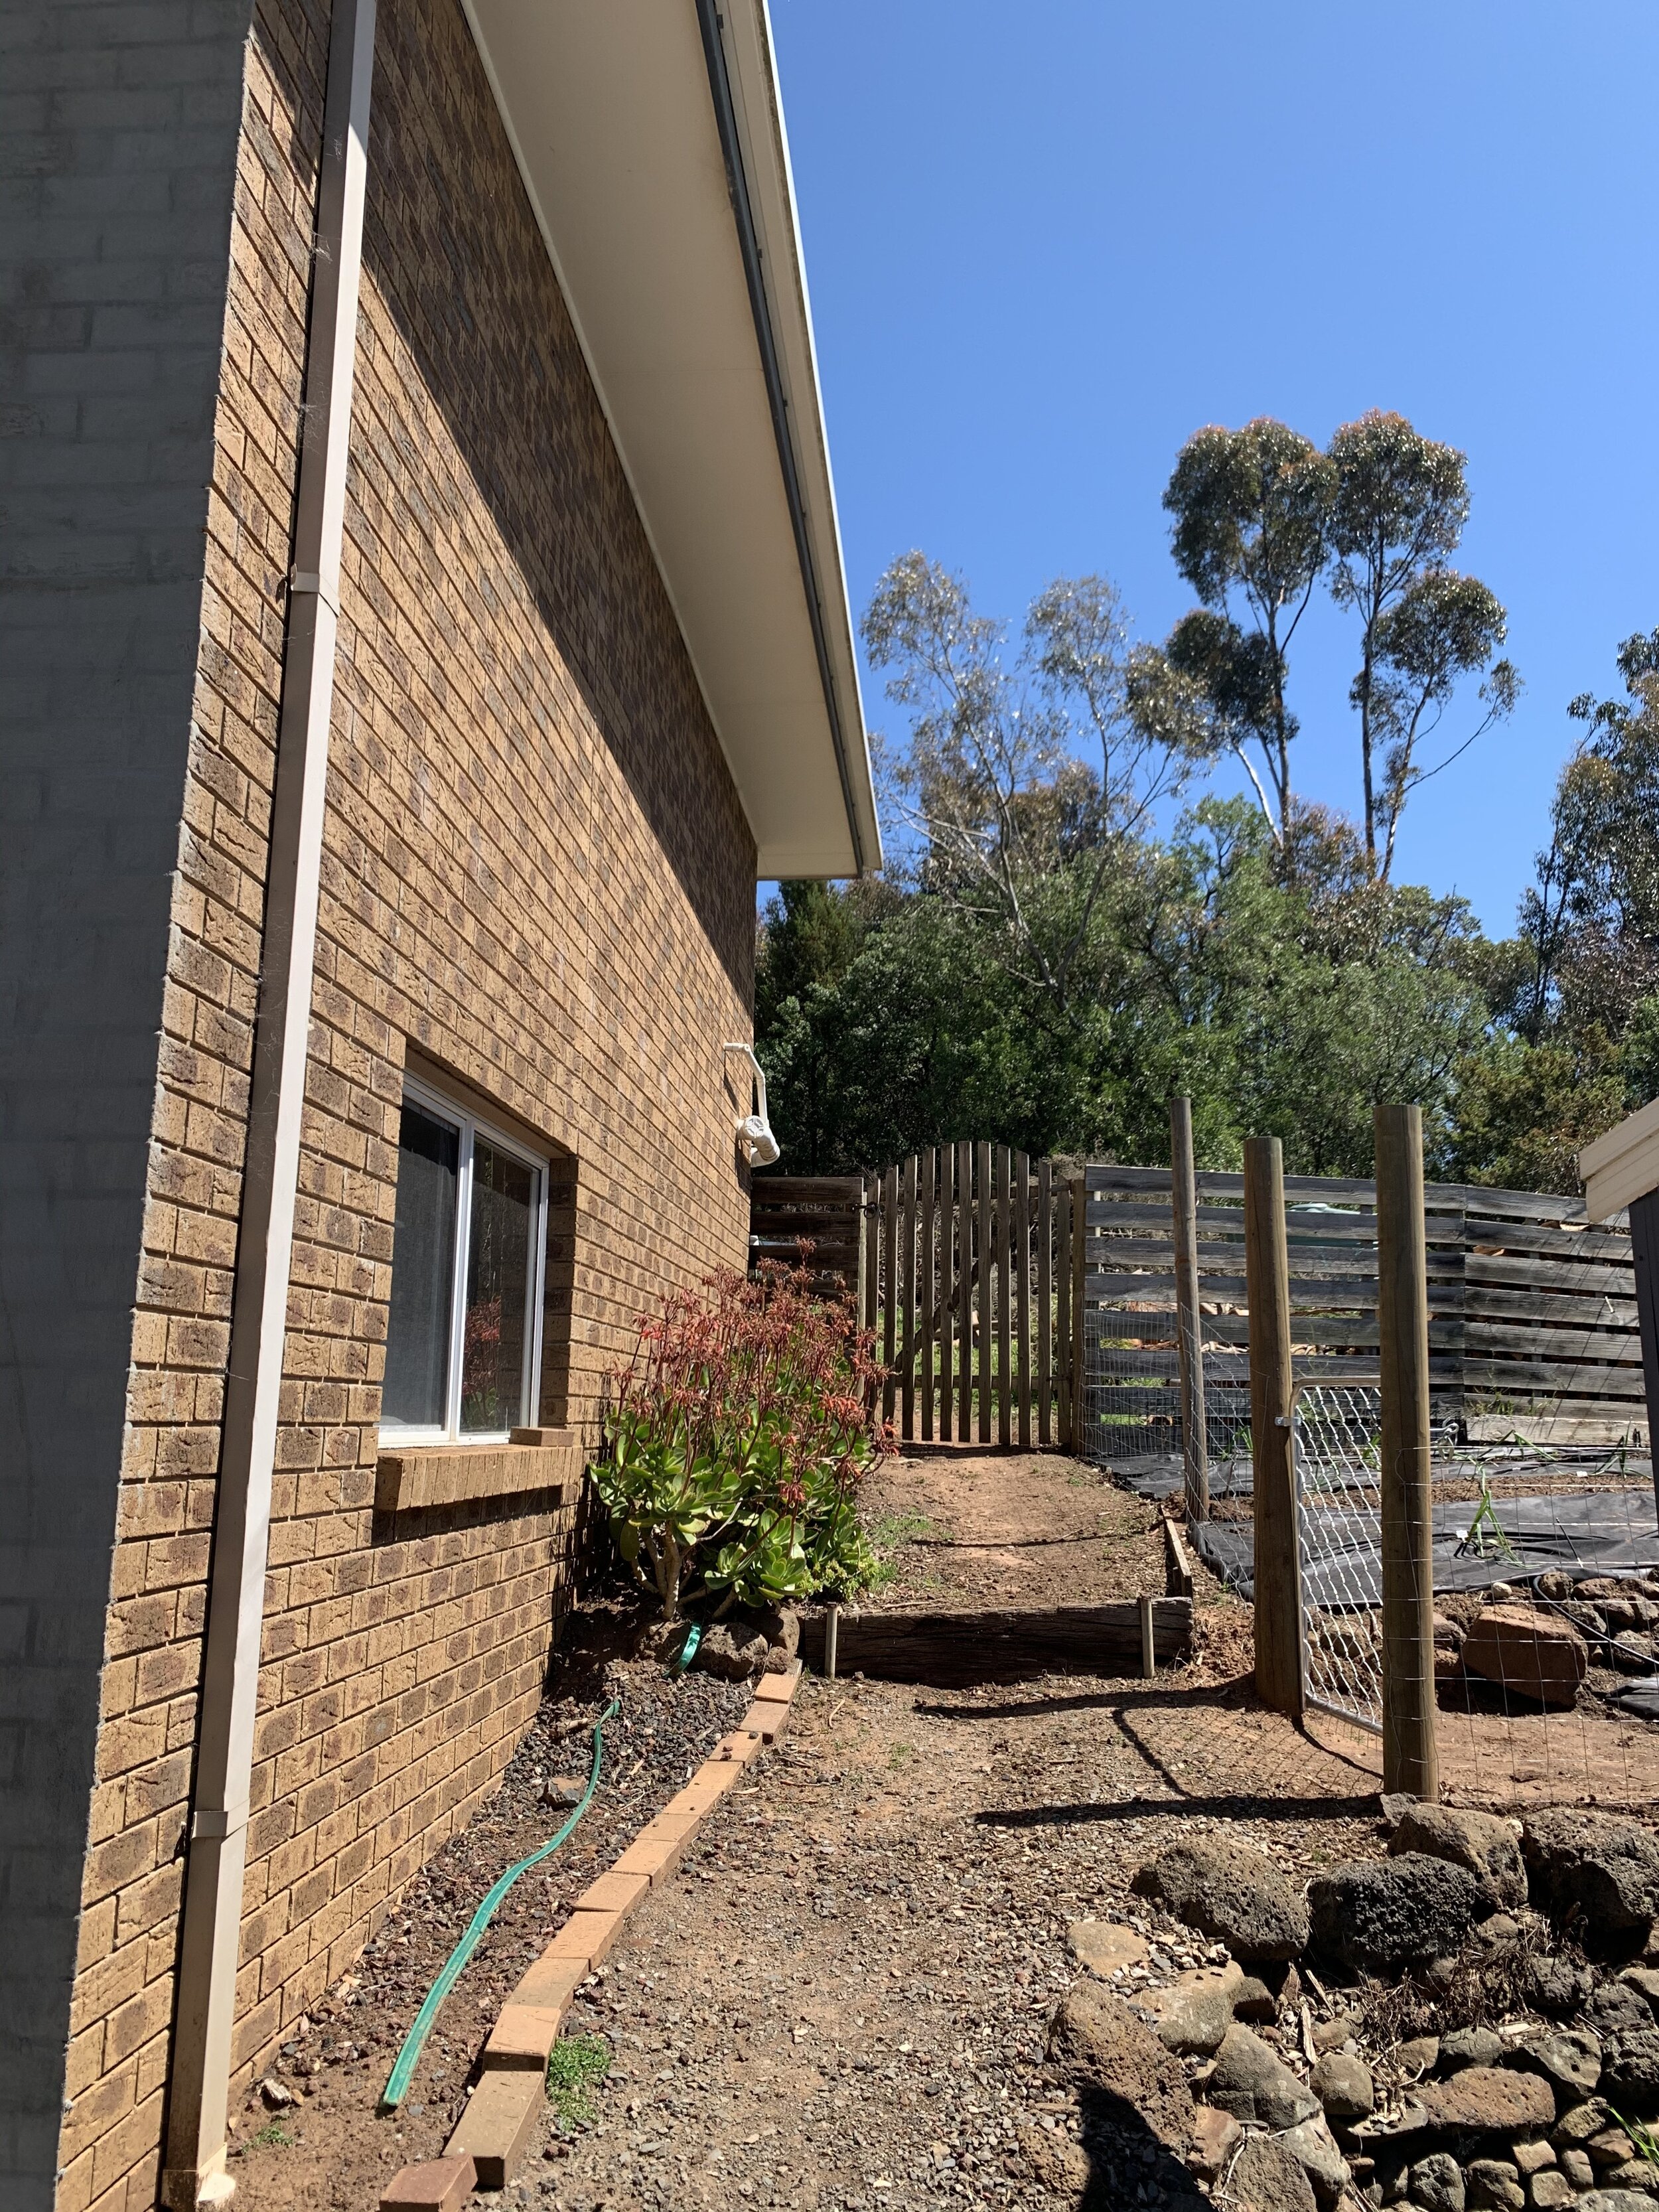
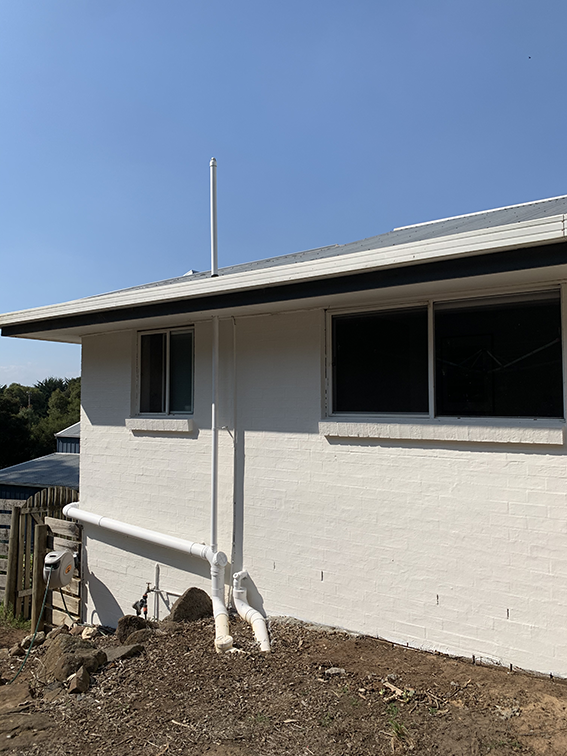
PROJECT GALLERY
The best DIY brick renovation idea we’ve had. The results are relatively instant and stunning! Works over bare or bagged brick.
HOT TIP: Remember to check the weather before starting, you’ll need no rain for a few days prior to, and after painting. Technically rain the next day would be fine but let’s be extra cautious.


A few things to consider…
PAINT SPRAYER, OR ROLLER?
This is a personal choice, below I’ve included two lists of my personal pros and cons on each one. For us, we found spraying used a LOT more product and we quickly switched to rolling, which also gave way better product distribution as it really pushes the paint into the bagged brick, rolling also requires less prep and cleanup time not needing to completely cover sheet windows and pavement to protect from overspray. I have read rolling gives better adhesion over bare or bagged brick too.
*Disclaimer: I LOVE my paint sprayers and have used them on a ton of projects, including our above ground pool, many of our doors, furniture pieces and fences. You need to pick the most appropriate tool for the job, and also what suits you best.


HOW MUCH PAINT DO YOU NEED?
We used 50L of undercoat and 40L of top coat, for the brick only, not eaves or trim.
This will depend on a lot of factors: What colour you chose/what colour you are going over, how thick you apply the paint, and if you spray or roll. Most paint suppliers will indicate on the tin what coverage to expect.
Our home is ridiculously large (we brought a whole 'lotta ugly!!) so you could safely assume most people won’t need this much.
HOW MUCH DID THE PAINT COST?
How much did we use? 5 x 10L of primer at $159 each and 4 x 10L of exterior paint in the colour ‘Old School’ at $169 each from Tint.
So $795 for undercoat + $676 for top coat.
= $1471 total paint cost for the external brick walls
(I then used my 10% TINT discount code MARIKAKNOWSTHINGS, which brought the total to down to $1323).
UPDATE: Costs use RRP at the time of the project, 10L tub prices at the time of update $199 and $229 respectively (before any discounts) which changes the total to $1911. You can check prices via the Tint website.
BUT We already had all the paint accessories, we just brought a few rollers so I won’t include these costs as they vary wildly depending on what you already have, what brands you chose, and how you prefer to apply the paint, but our list at the top to can help guide you.
A reminder that DIY bagging our brick first cost just $267. At the beginning of this project we had a few quotes for paint and render and they started at 20-25k. So no matter how long it took, or how hard the work was, this project was 100% worth it to me!
KNOW-HOW
•
KNOW-HOW •
METHOD
STEP 1
We start from where we left off in this post. These instructions are fairly similar if painting “bare” brick too.
Broom down any loose dust now the mortar mix has dried completely. Prep any pipes you do not wish to paint by taping around the part that enters the wall, tape off and/or drop sheet any deck, verandah or areas you do not wish to paint.
STEP 2
Mix your undercoat well, it helps to have two people on the job, one on a brush, being followed by one with a roller. The person with the brush will go around any doors and windows and also do the top and bottom edges where you need to “cut in”. The person on the roller will follow and fill in the gaps.
Load your roller exceptionally well for going over bagged brick, especially this first coat, the mortar mix will suck up quite a lot of paint, so you want to load that roller well, slowly spin it as you move towards the wall to avoid drips, then push harder than normal as you roll, to really drive the product into the brick as you go. This helps avoid bubbles or small dots where the paint didn’t penetrate the mortar.
Don’t worry if it looks patchy after the undercoat, that’s what top coat is for. But make sure you get really good coverage, you’re better to do thinner top coats than skimp on the undercoat. I promise the following coats are NOT as much work as this first one, the roller will get a bit gritty so change to a new roller for top coats.
Work one wall or section at a time, it is best if you need to stop, to ensure you stop a the end of a wall not the middle, this avoids any lines later on. We painted one side at a time, and when transitioning to the top story we tried to choose a spot that lined up with the verandah. Don’t stress about this, it’s just good practice.
STEP 3
Wait the appropriate time (check your paint tin) for your undercoat to dry and fully cure. If unsure, double it!
Undercoat is what blocks any stains from bleeding from a surface, out through the paint (if you are painting bare brick and have any flecks of red in the brick, you may need to use a stain blocker undercoat specifically, some bricks contain materials that bleed through) and undercoat is also what ensures best adhesion long term. Don’t rush the dry time.
STEP 4
Follow with your top coat. In our case we did such a good coat of undercoat that we only did a single top coat (again, it was a good thick even coat).
STEP 5
Allow this to dry very very well before going back to paint any eaves, trim etc. We can tick this extra caution off our list as winter arrived before we were able to paint the trim, so that’s a job for this summer!
THIS POST IS PART 2 OF OUR BRICK TRANSFORMATION, SEE PART 1 HERE
We painted our brick in February 2021, so far it’s holding up perfectly. We’ll let you know if that changes.
*For orders over $300


